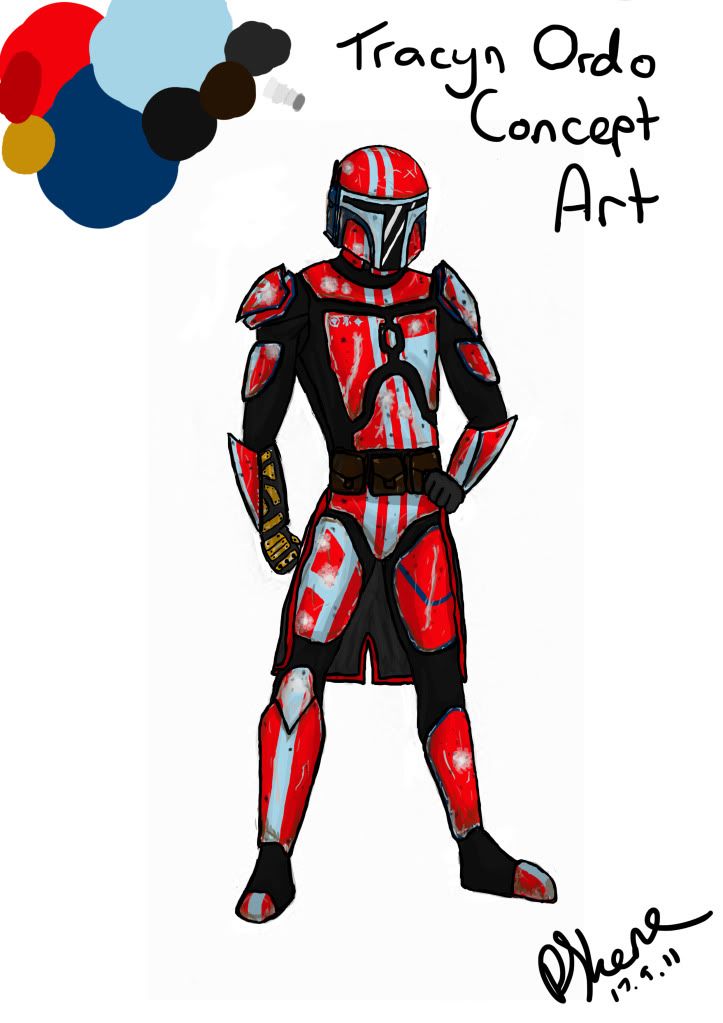
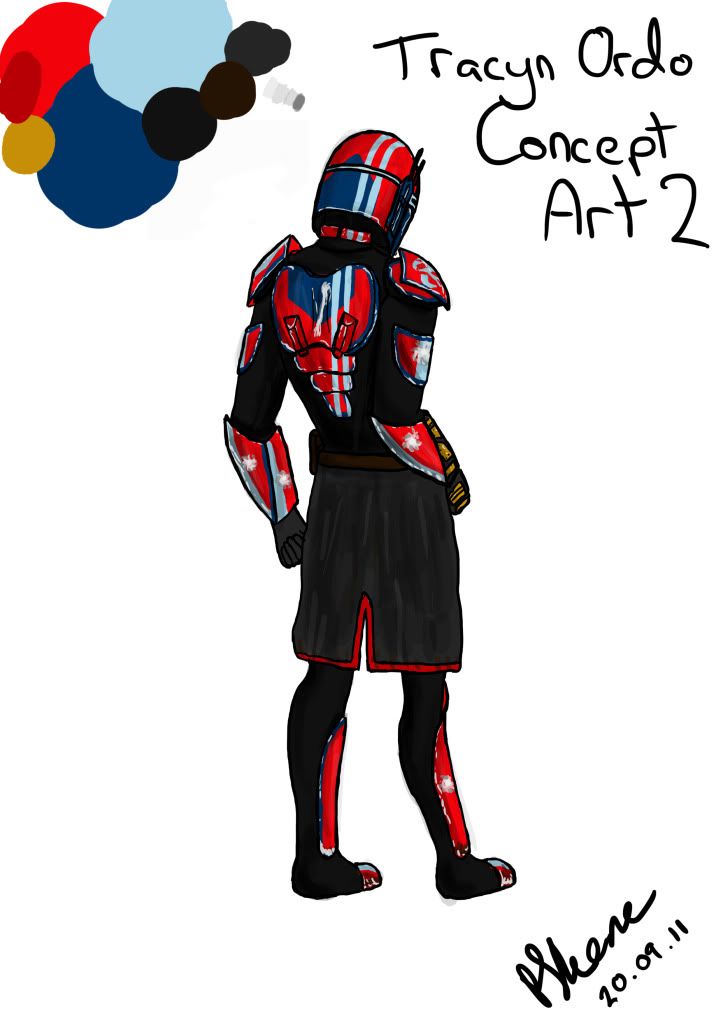
I started off by drawing some concept images in photoshop in order to give me a clear direction while making this costume.
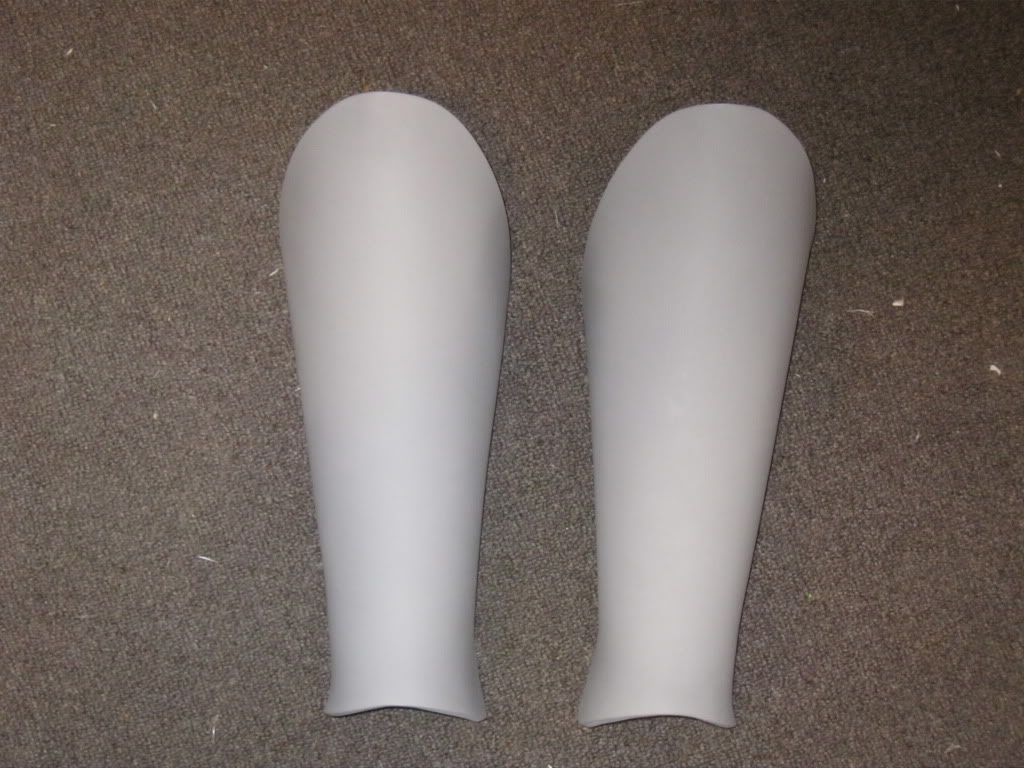
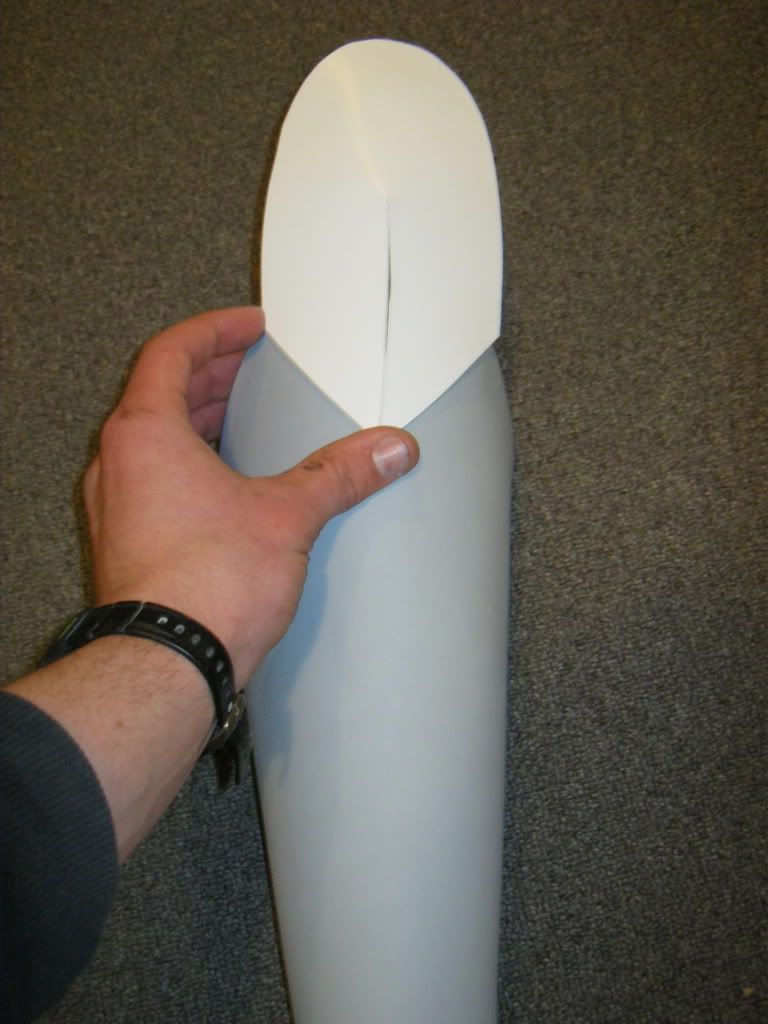
I started off by cutting the main plates out of 6mm sintra, and shaping them to fit. The thigh plates recieved darts to better conform to the compound curves of my thigh muscles.
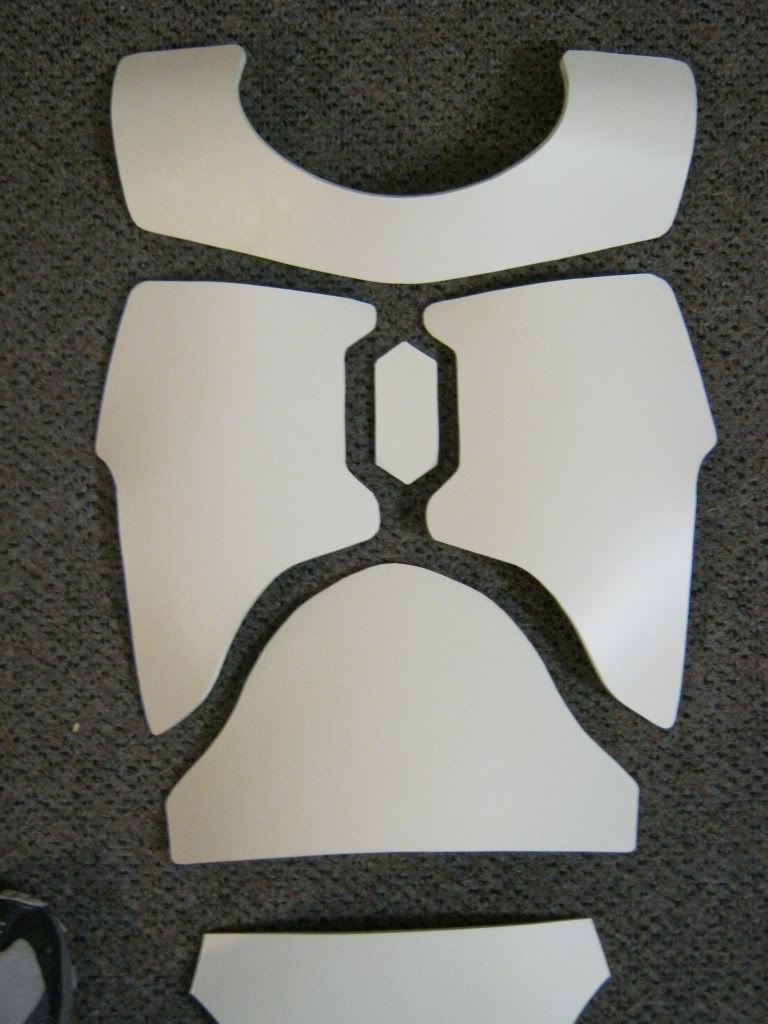

The rest of the plates where made from 3mm sintra.


The backplate was constructed from several pieces of 3mm sintra, card, and fiberglass.

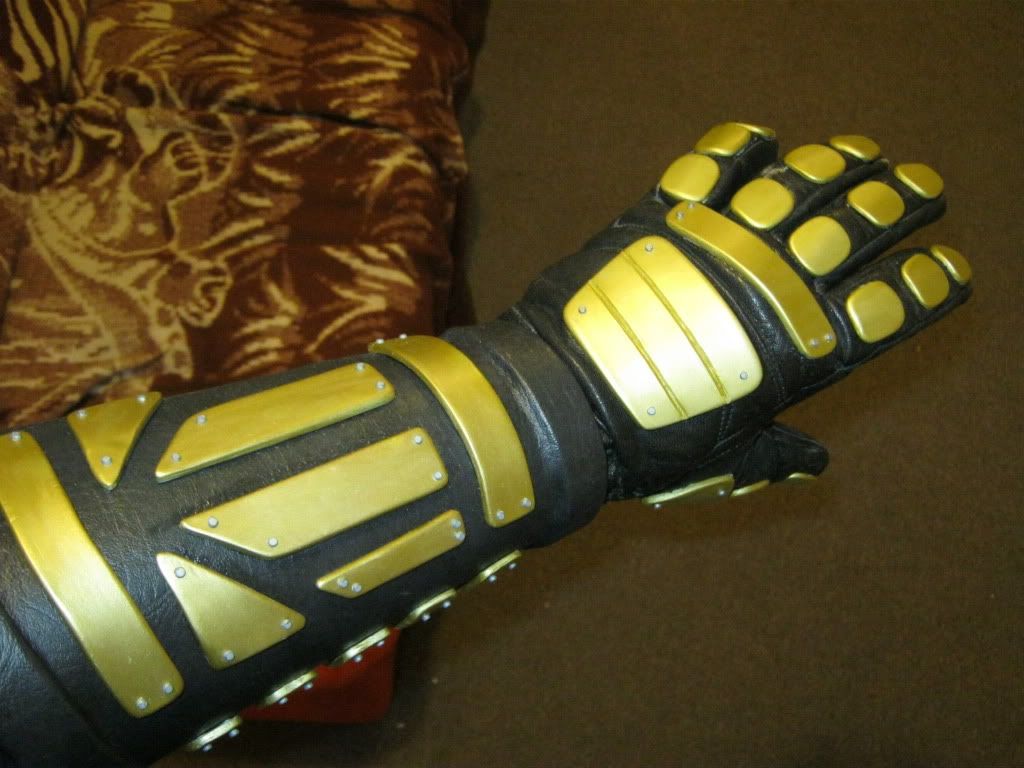
For the crushgaunt I used a heat gun to shape the detail pieces to conform to the base gauntlet, then wrapped the gauntlet in pleather, making it look more like the gauntlet and glove are one piece. The detail pieces had holes drilled in each corner, and through into the base gauntlet. Nails that had been trimmed short were then inserted all the way through, helping to hold the detail pieces in position.
The secondary piece of the gauntlet was attached with a couple of bolts, as were the secondary pieces of the shoulder armour.
To make the helmet I used the WOF templates to make the base out of cardboard. This was then fiberglassed for strength.
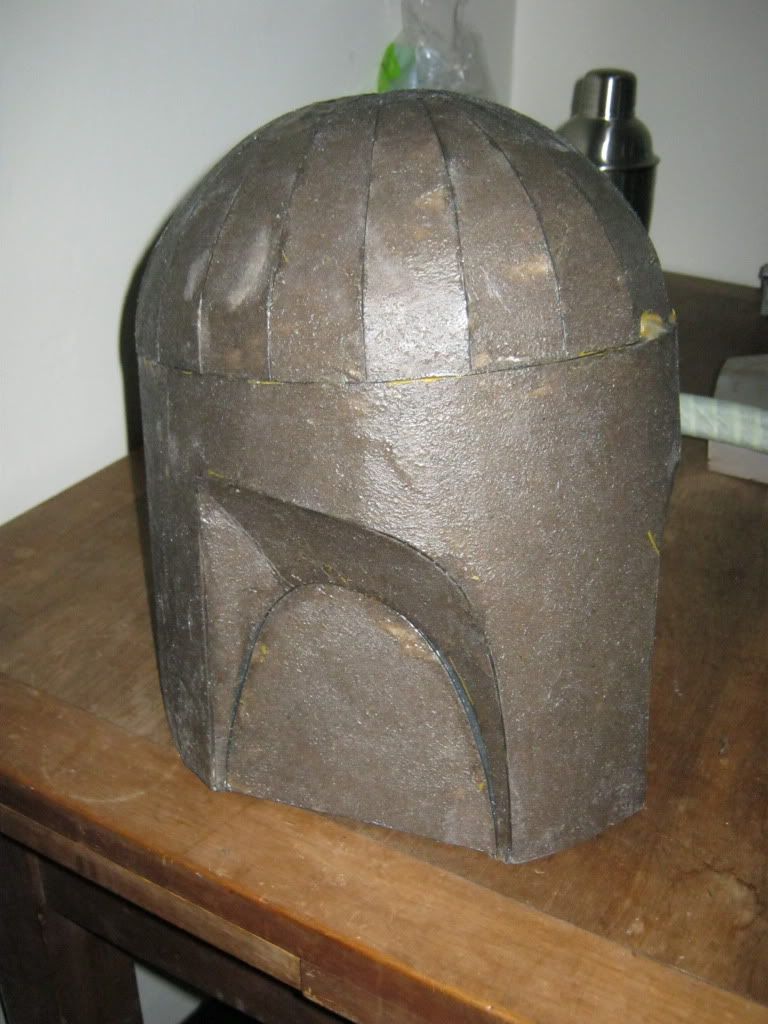
This base was then smoothed and detailled with bog. To build up the raised parts around the visor I used foam draught tape to create a straight hard edge of even thickness.
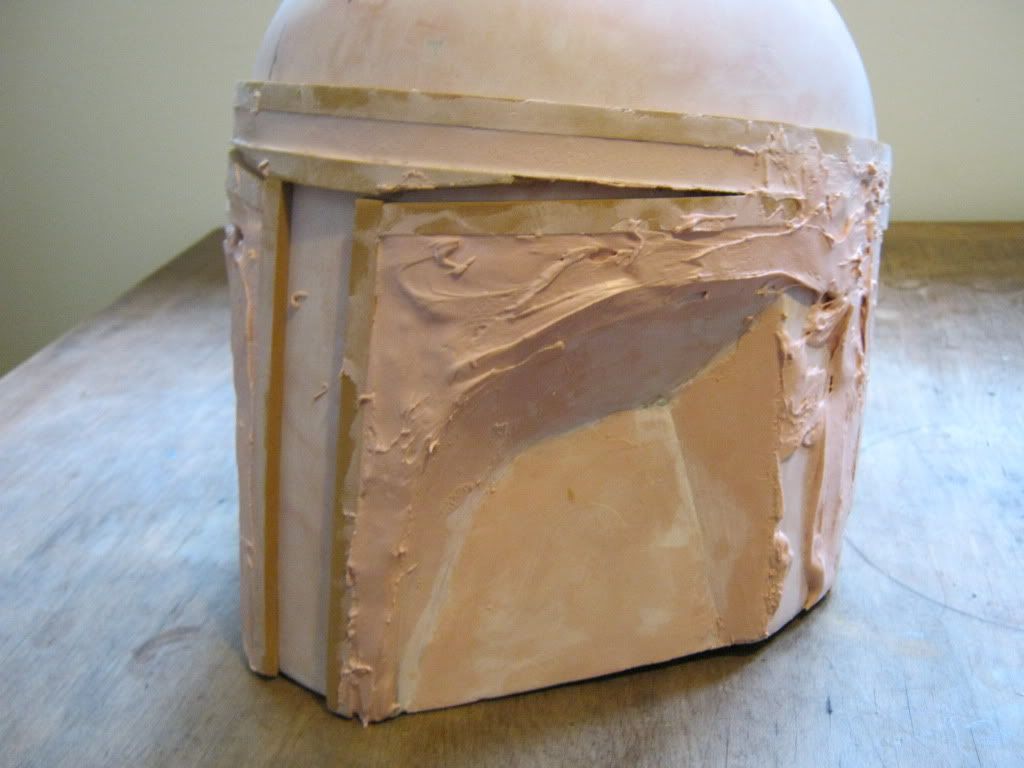
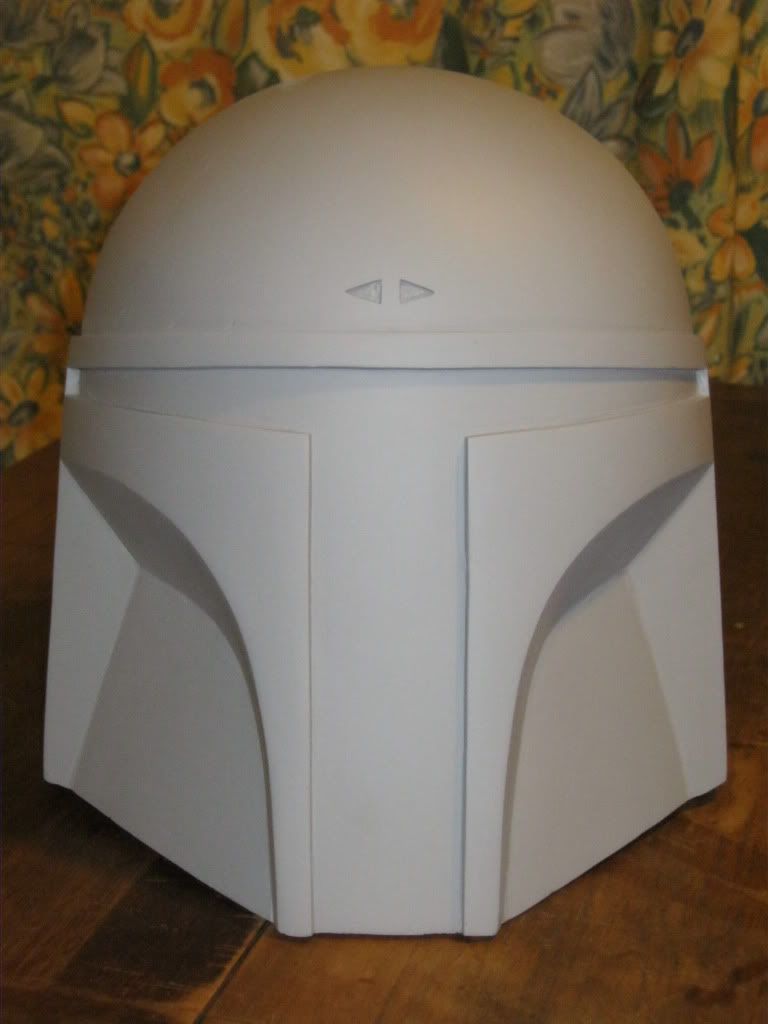
This was then refined, sanded smooth, and finished with spot putty, before being given a coat of primer to show any imperfections.
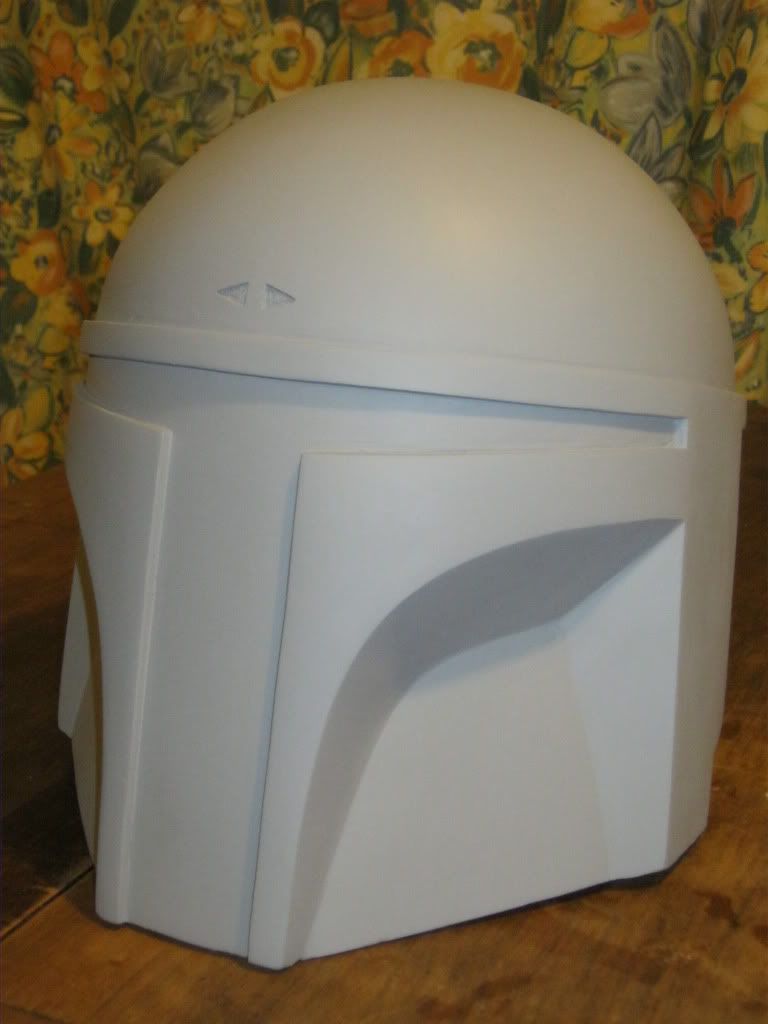
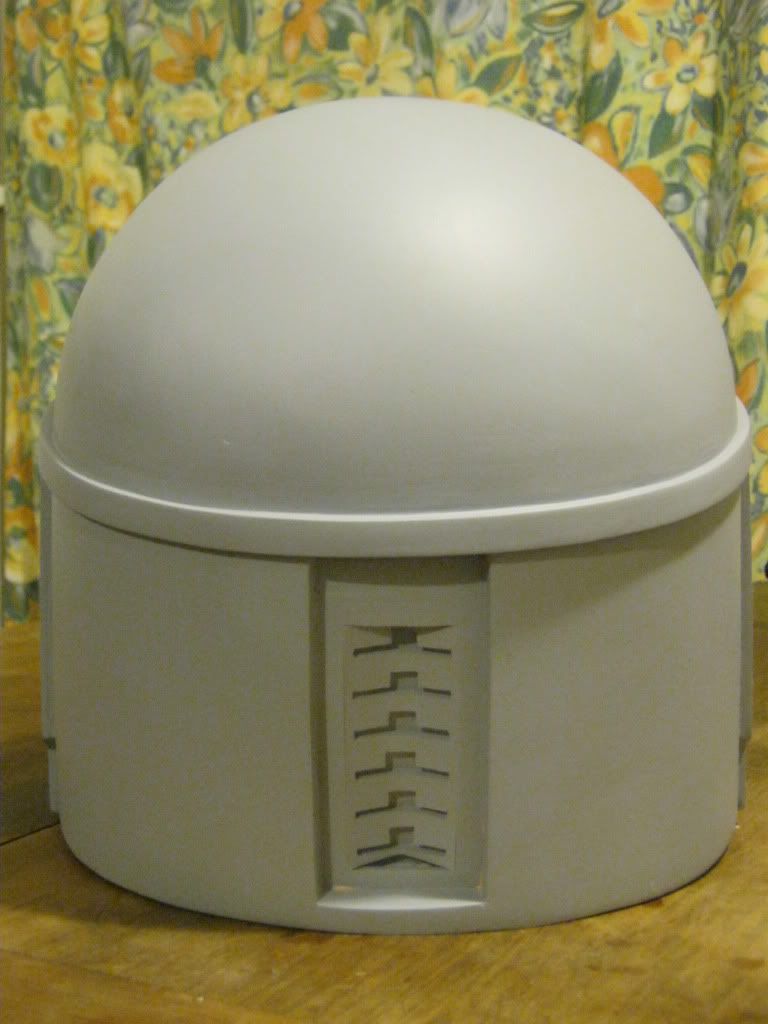
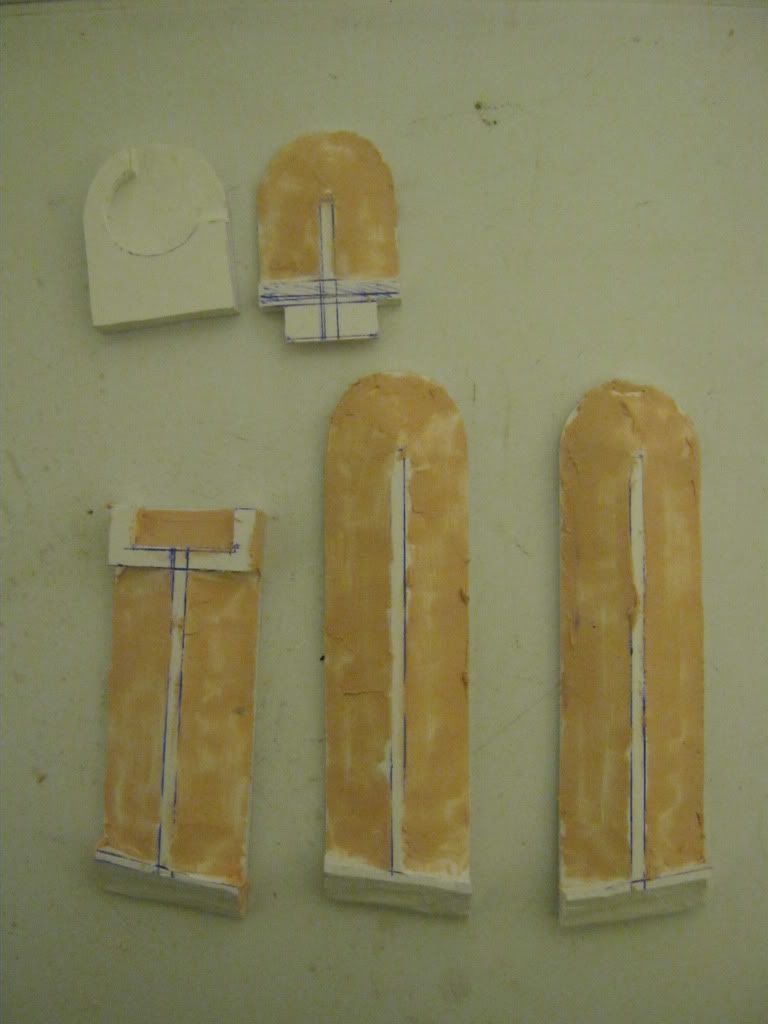
The ear caps were build using several layers of 3mm sintra laminated together and bog to smooth it out.
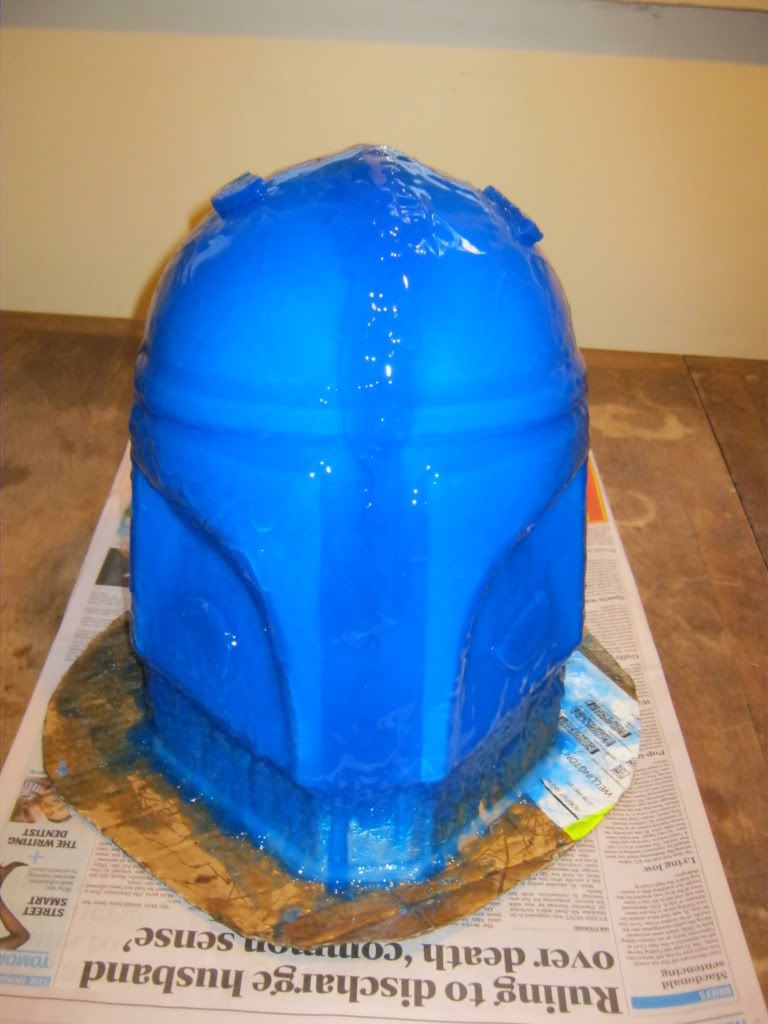
The next step was to mold the helmet so that lighter weight, casts could be produced. Several coats of silicon were applied to the helmet in order to make the flexible mold.
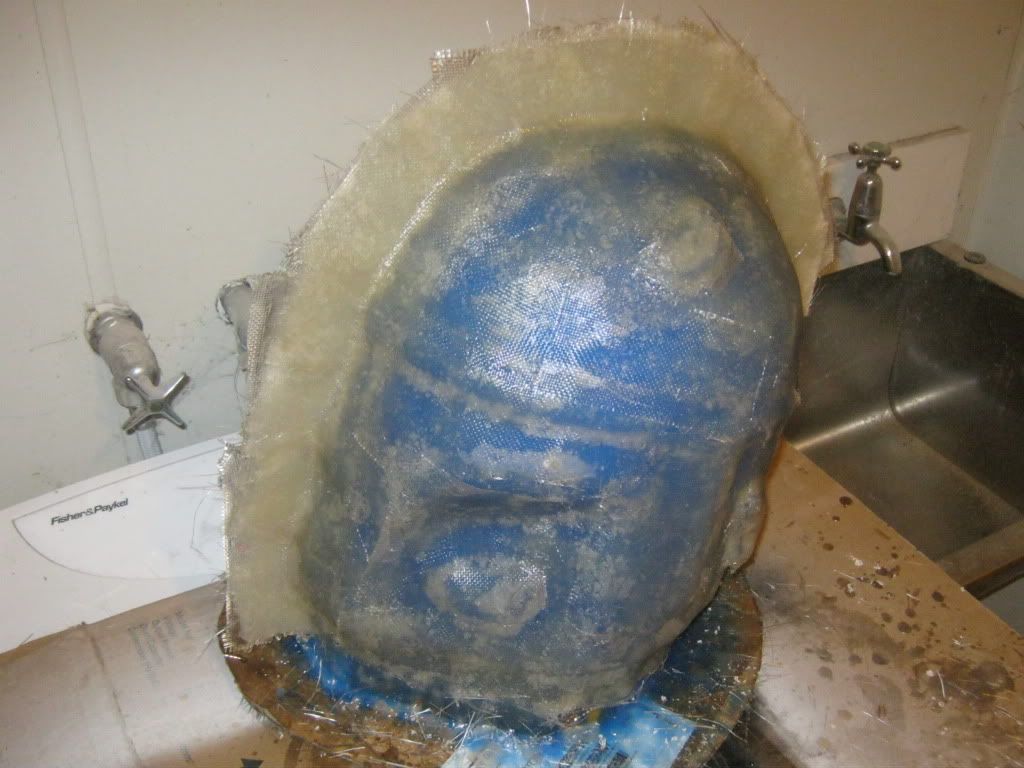
Then a rigid fibreglass mothermold was built up over the silicon, to help it keep it's shape once the master has been removed.
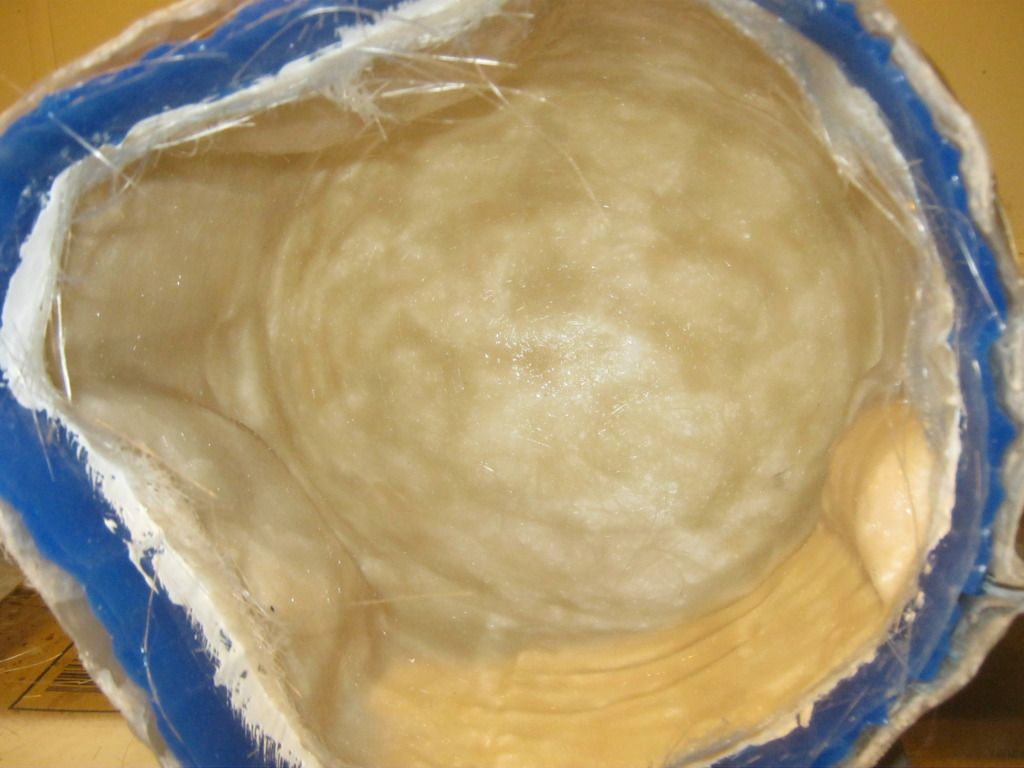
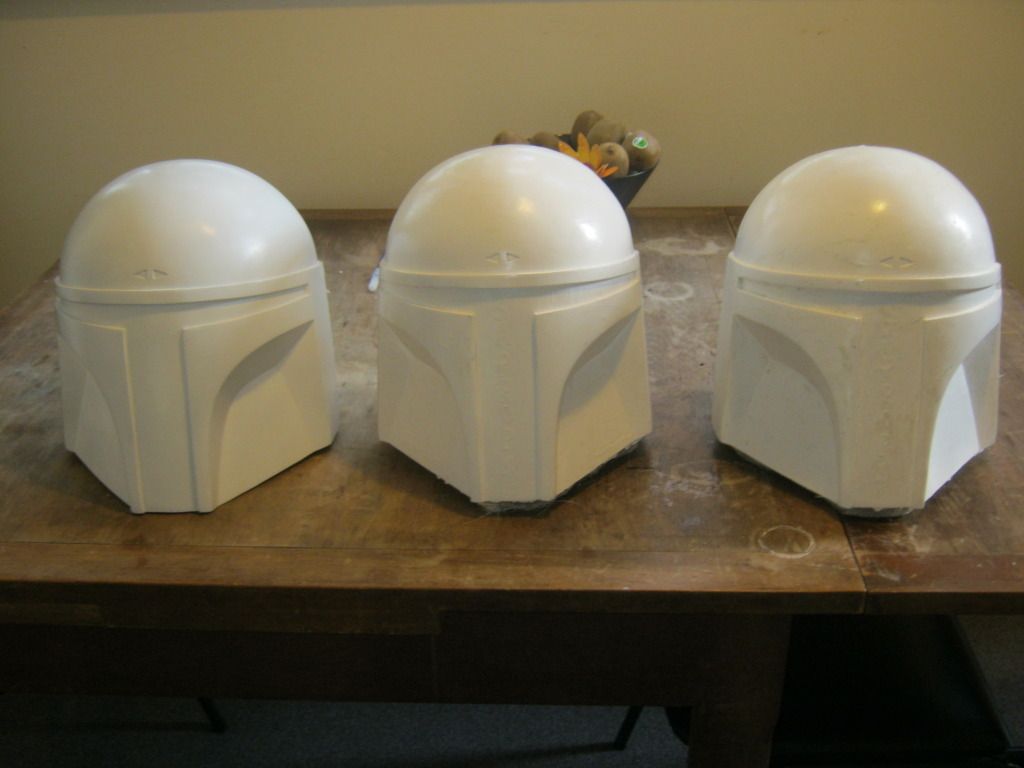
The next step was to remove the master and make a cast. The casts are made by pouring a coat of gelcoat resin into the mold. The mold is then rotated until the inside of the mold has been fully covered. The purpose of the gelcoat is to capture all the detail of the mold, and to provide a nice even surface to the exterior of the finished cast. A layer of fiberglass is then added to the cast. It is this fiberglass that provides the structural strength to the finished cast.
This picture shows the master on the left, the first cast in the middle and the second on the right.
I then made some box molds for the earcaps.

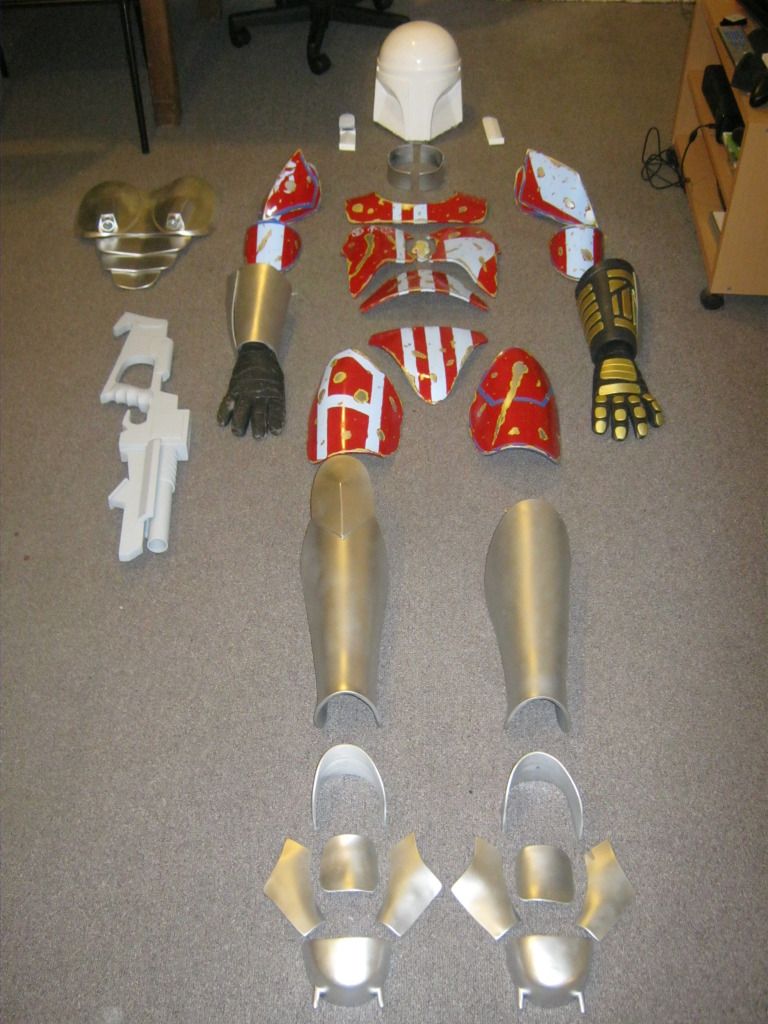
The next step was to paint everything. All the armour was given a base coat of silver, then masked with liquid latex in the places I wanted the paint to appear scratched off. A coat of yellow was applied and more liquid latex was applied. The red primary coat was then applied, after which more liquid latex was applied and the blue detailing and sigils were painted on by hand.
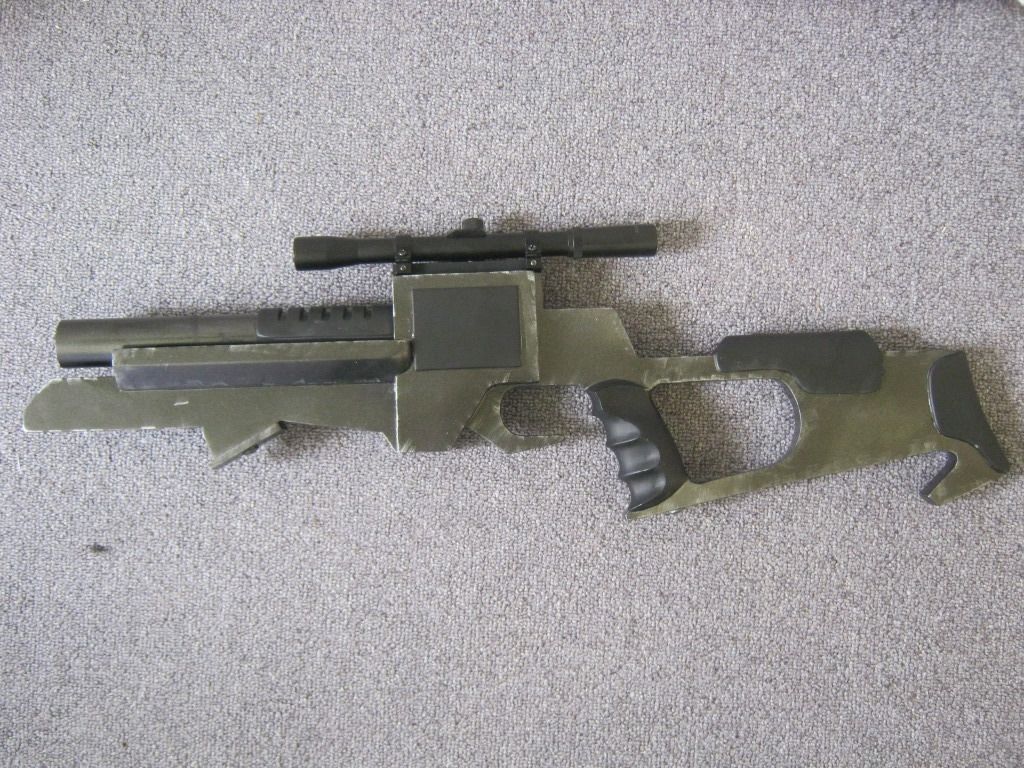
The blaster was made from scraps of materials I found lying around. The base is pine, with the details being 3mm and 6mm sintra, as well as bog and other scraps of wood.
It was painted with a metallic grey basecoat, and the detailling was finished with flat black to give the gun more depth. It was finished with a rifle scope that I got cheap.
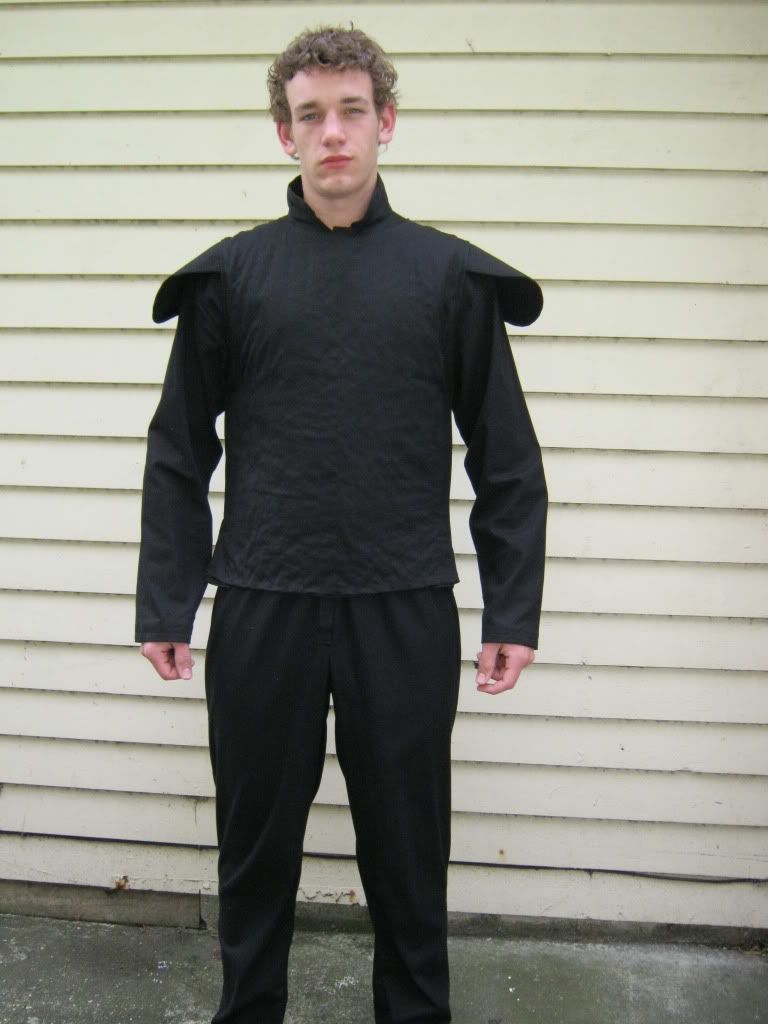
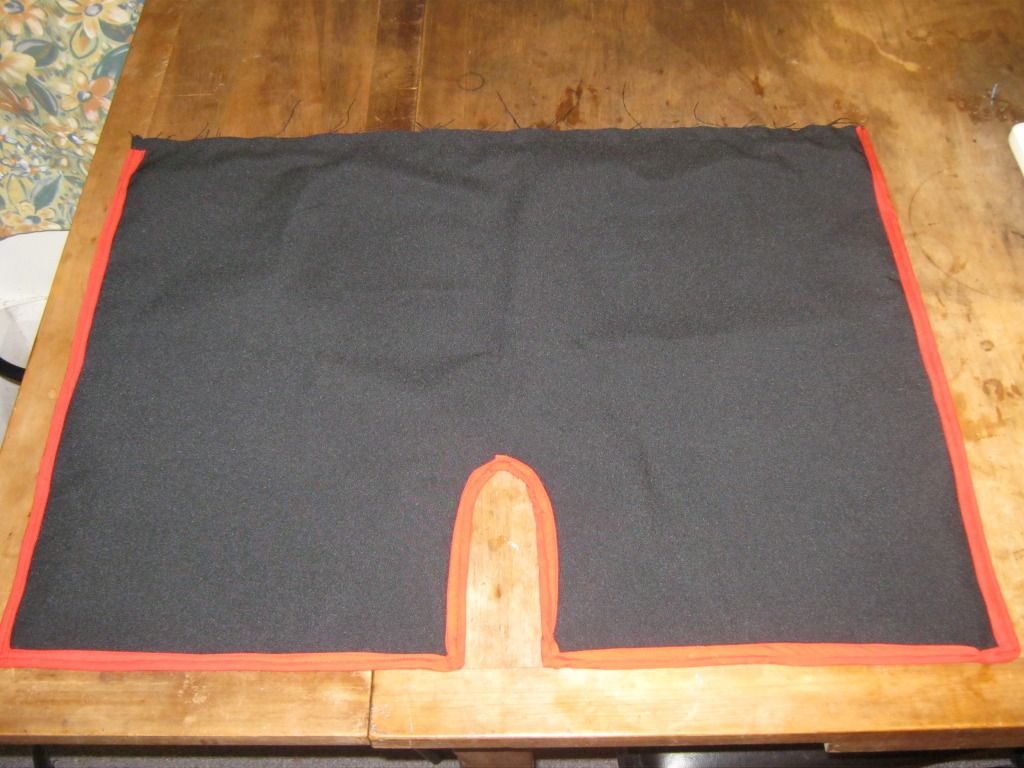
The flightsuit and vest were made from cotton drill, and the kama was made from a heavier weight black fabric, reinforced with interfacing to make it stiffer.
The pouches I used were bought from a military surplus store, and are Vietnam War M16 ammo pouches.
All the plates were then attached to the flightsuit and vest with velcro, and webbing was added to the thighs, shins and biceps to help fold them against my body.
The final costume is something I am extremely proud of. The quality is exactly what I was aiming for and it is relatively comfortable to wear.
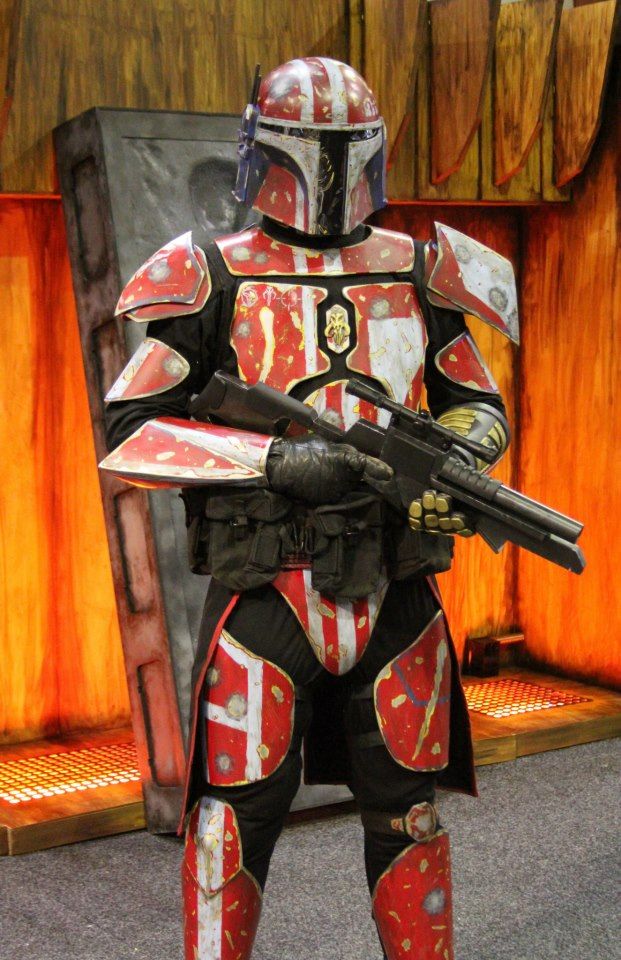
With this costume I applied to the Mandalorian Mercs Costuming Club, and became the first official New Zealand member.
There are a few minor tweaks I want to make to this costume, such as replacing the visor with a black one, and the addition of a side arm, but for the most part it is now complete.
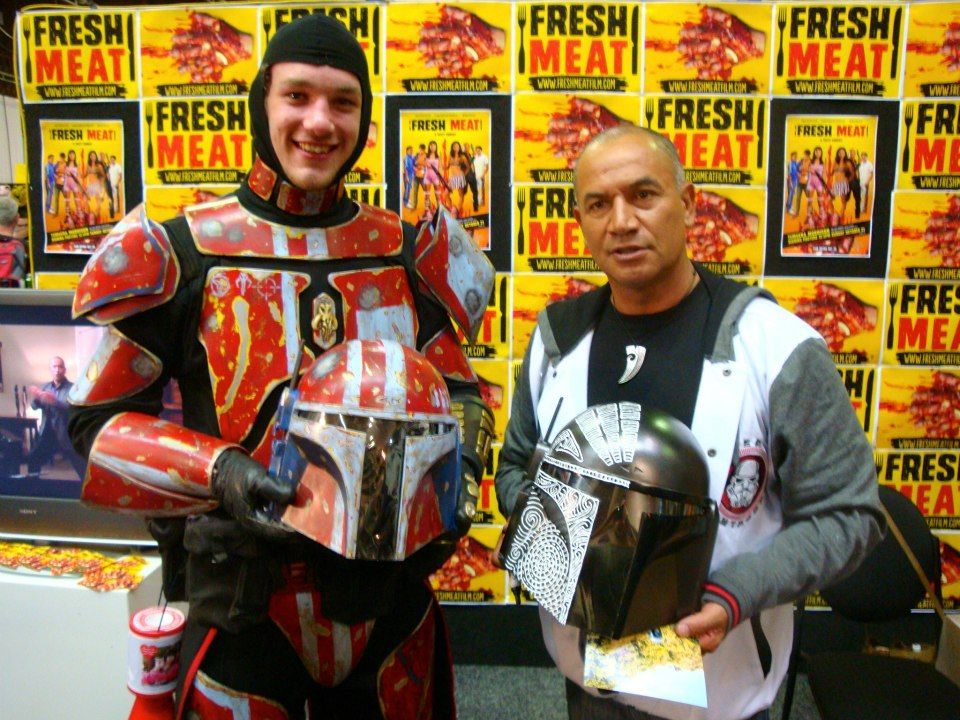
While wearing this at Auckland Armageddon I gifted Temuera Morrison, who was attending to promote his new film, Fresh Meat, with a custom helmet I made for him, which I will do a write up for in a separate blog post, and got a photo taken with him.
No comments:
Post a Comment