Saturday, 10 November 2012

Custom Mandalorian Bounty Hunter

As my first foray into costuming was a set of paper mache mandalorian armour, it was always my intention to revisit this costume and build it to a higher standard. I decided a while ago that my skills had progressed to the point where I would be able to do it justice and complete the costume to the standard I desired, so started going about assembling it.

I started off by drawing some concept images in photoshop in order to give me a clear direction while making this costume.
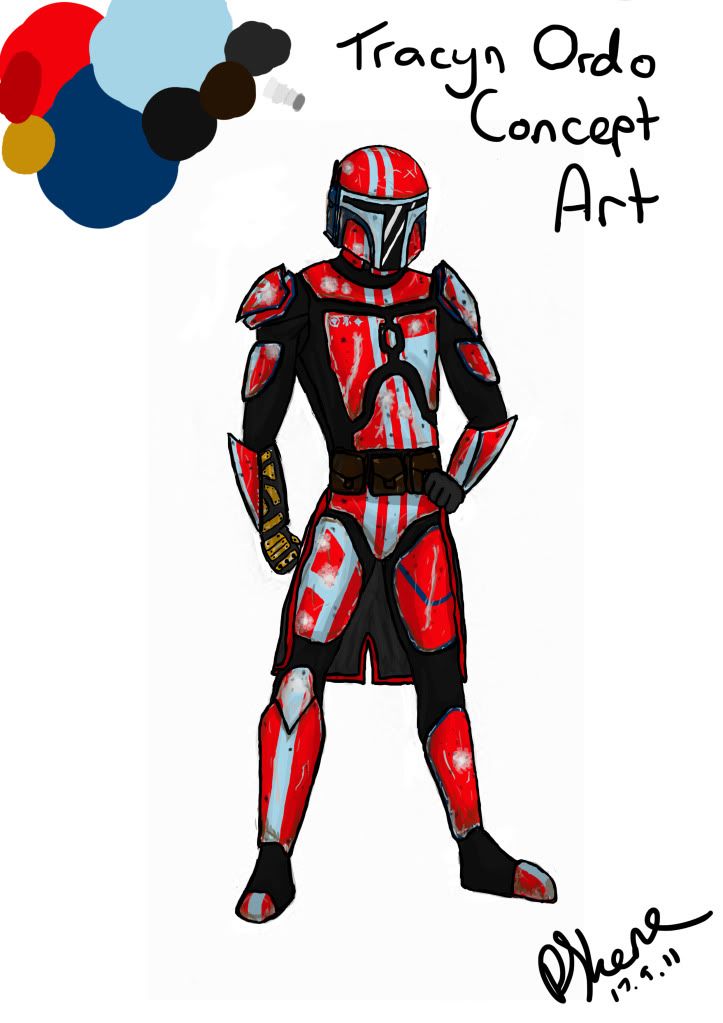
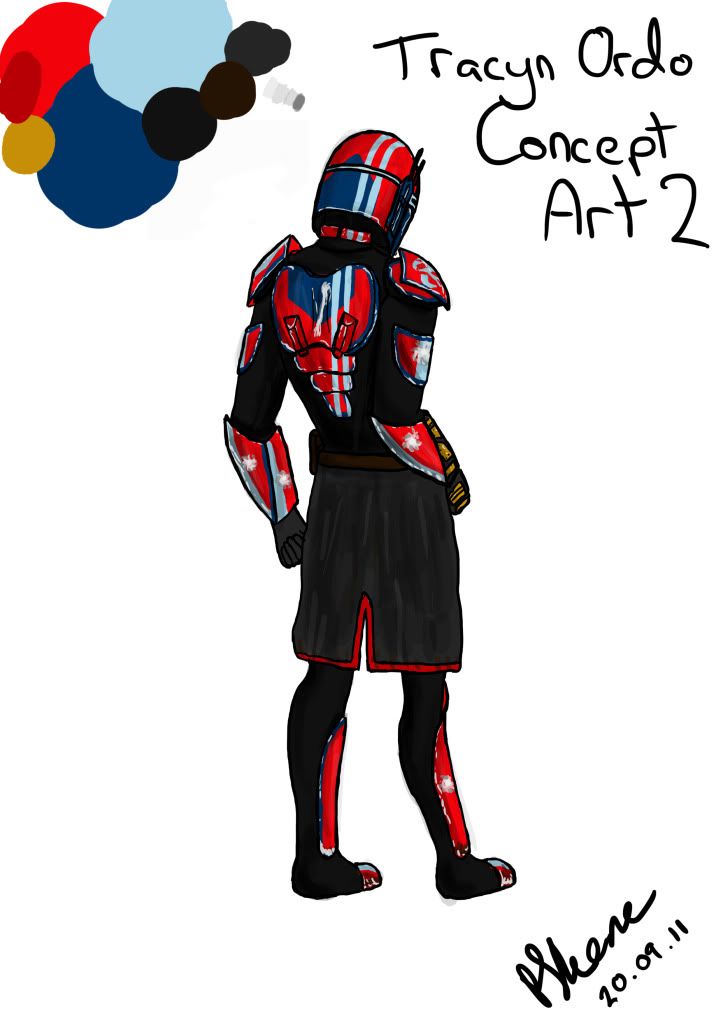
These designs provided me with a basis to work off and reference, resulting in a more coherent finished product.


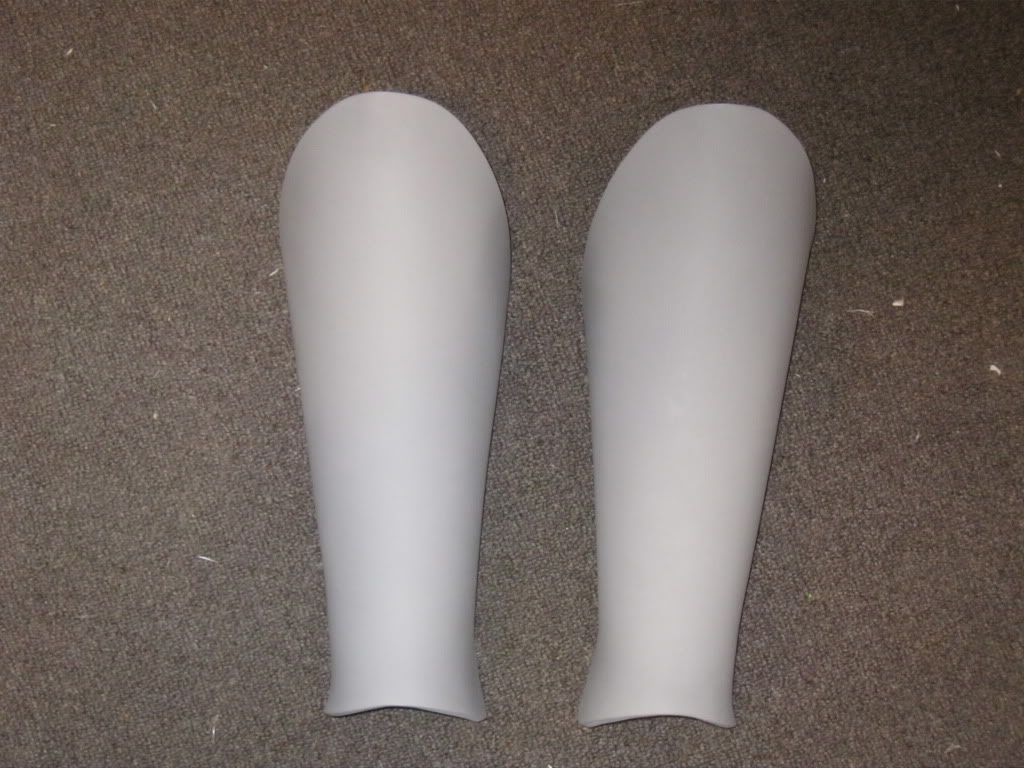
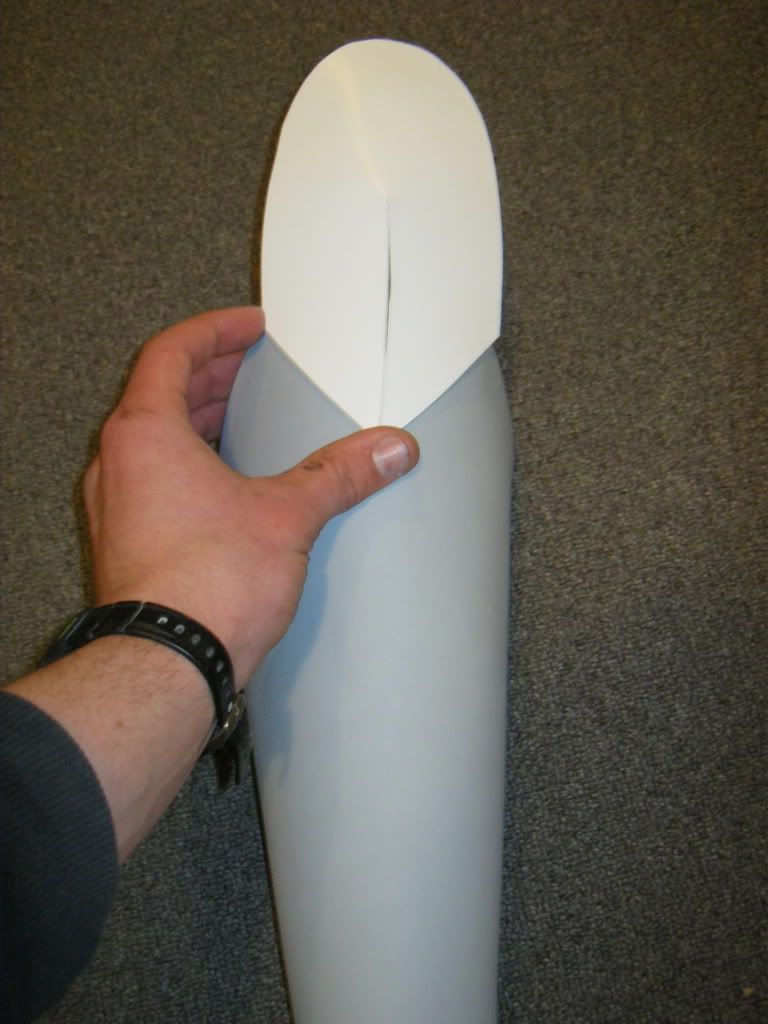
I started off by cutting the main plates out of 6mm sintra, and shaping them to fit. The thigh plates recieved darts to better conform to the compound curves of my thigh muscles.
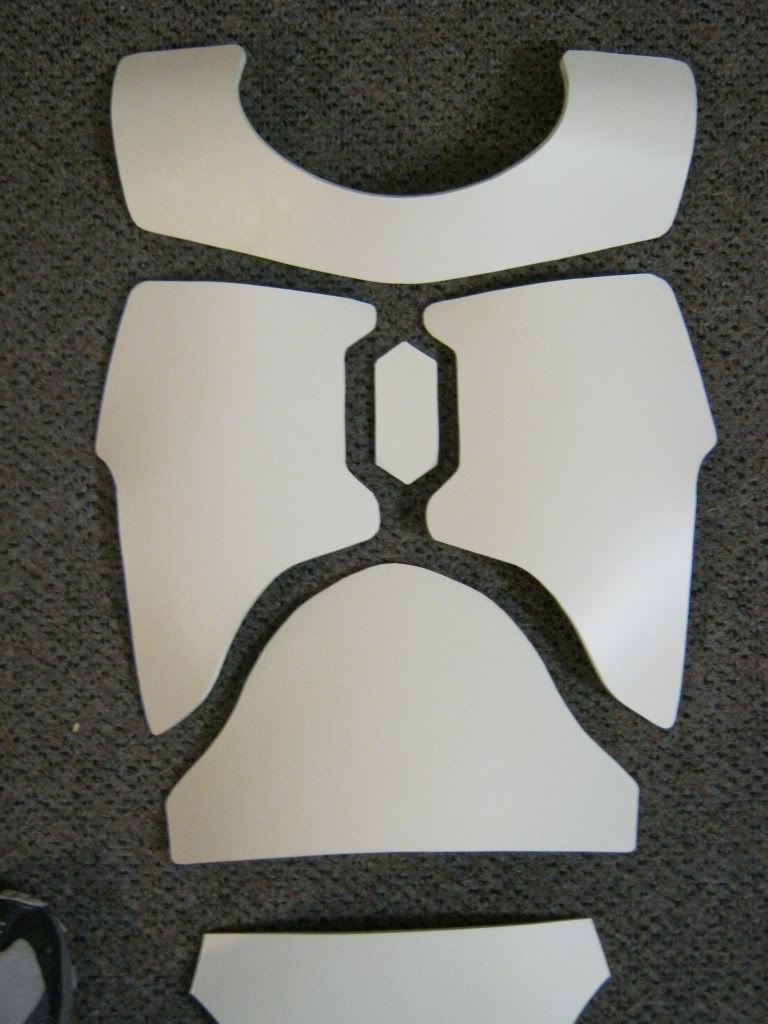
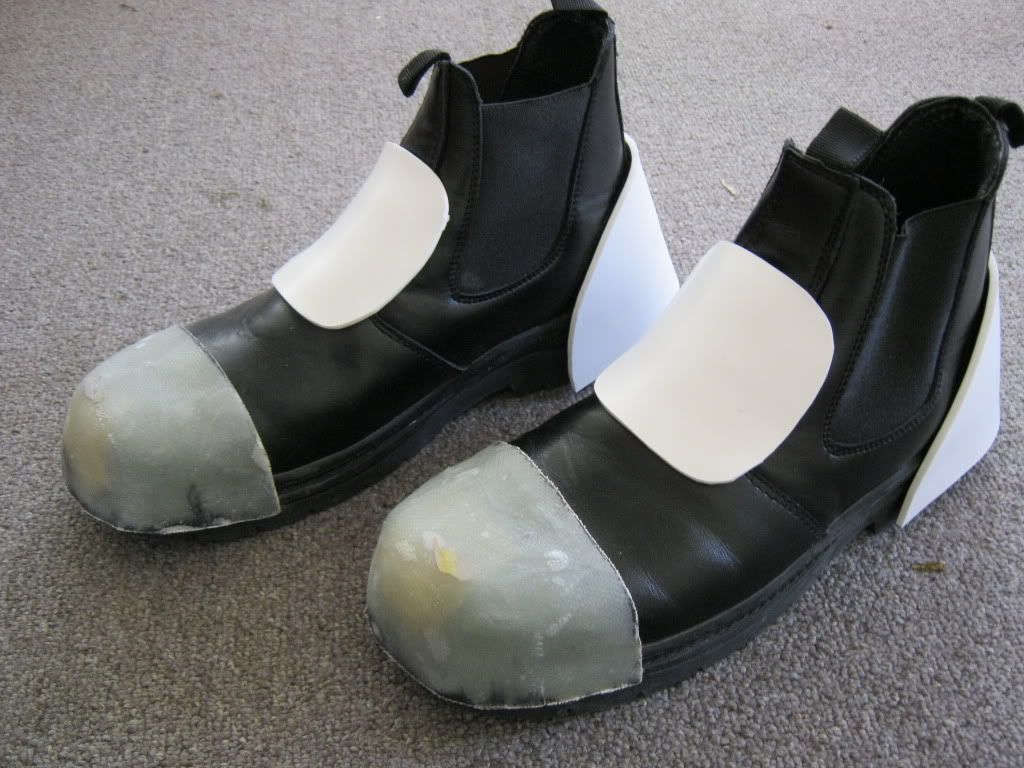
The rest of the plates where made from 3mm sintra.

The backplate was constructed from several pieces of 3mm sintra, card, and fiberglass.
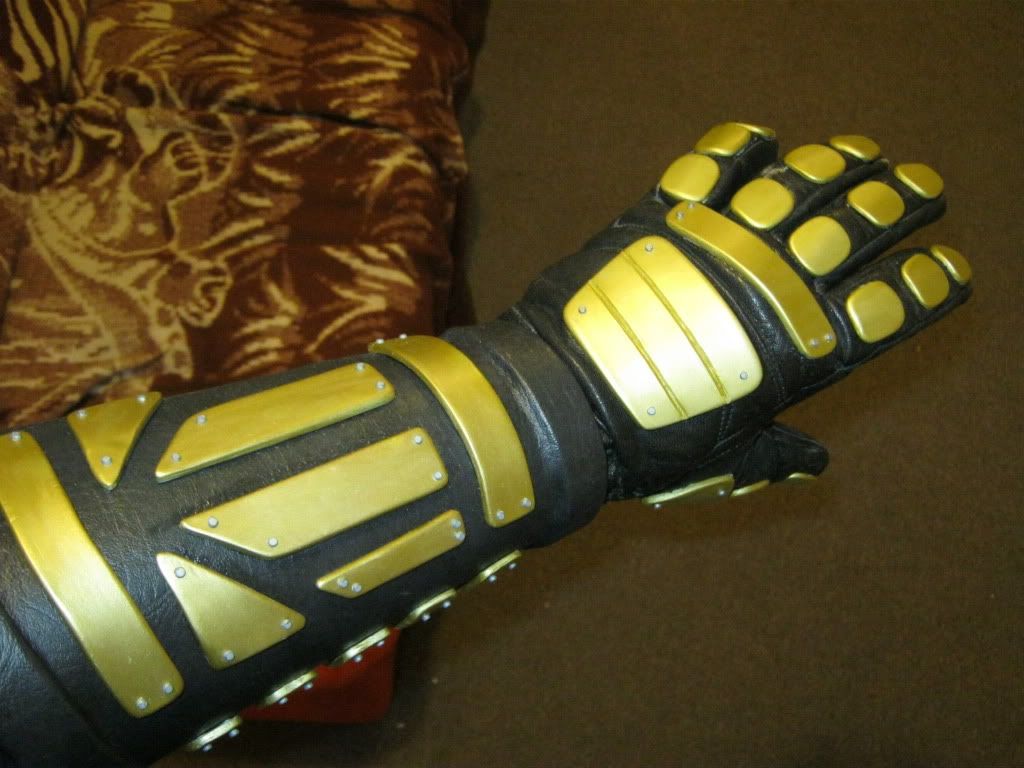
For the crushgaunt I used a heat gun to shape the detail pieces to conform to the base gauntlet, then wrapped the gauntlet in pleather, making it look more like the gauntlet and glove are one piece. The detail pieces had holes drilled in each corner, and through into the base gauntlet. Nails that had been trimmed short were then inserted all the way through, helping to hold the detail pieces in position.
The secondary piece of the gauntlet was attached with a couple of bolts, as were the secondary pieces of the shoulder armour.


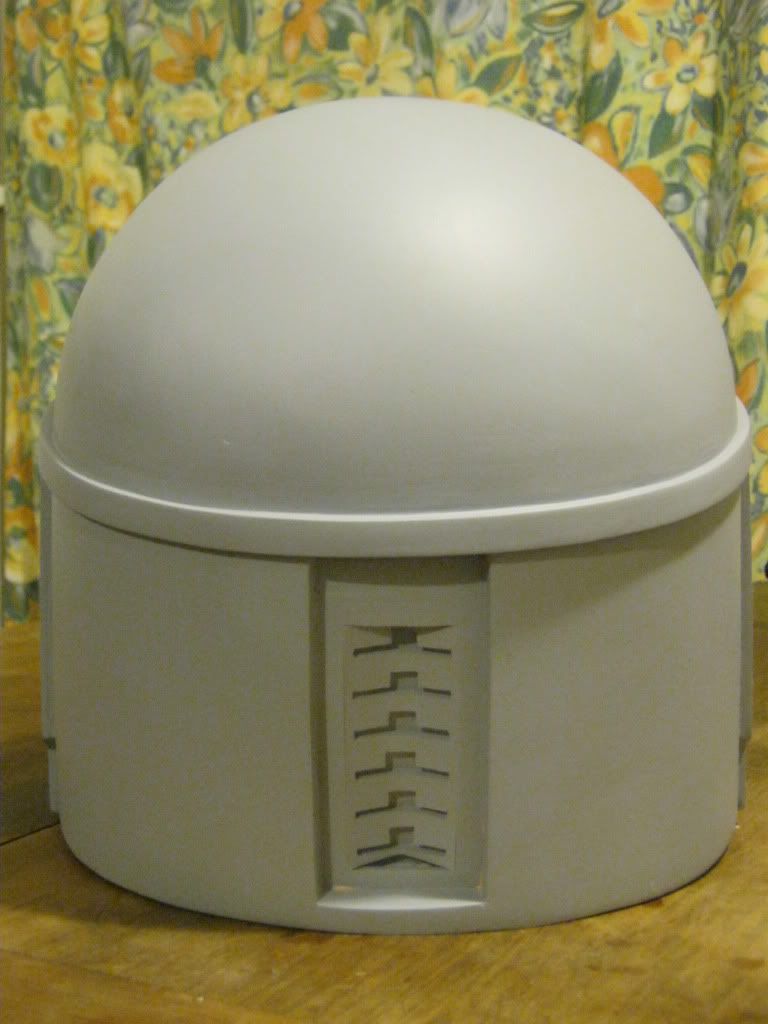
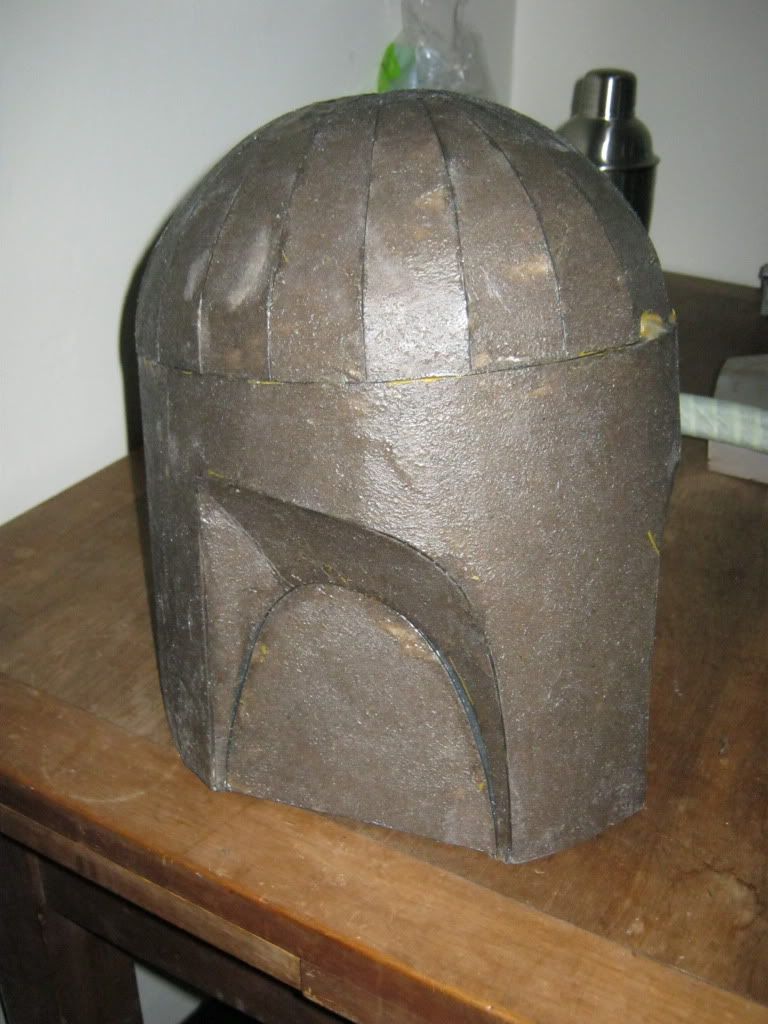
To make the helmet I used the WOF templates to make the base out of cardboard. This was then fiberglassed for strength.
This base was then smoothed and detailled with bog. To build up the raised parts around the visor I used foam draught tape to create a straight hard edge of even thickness.
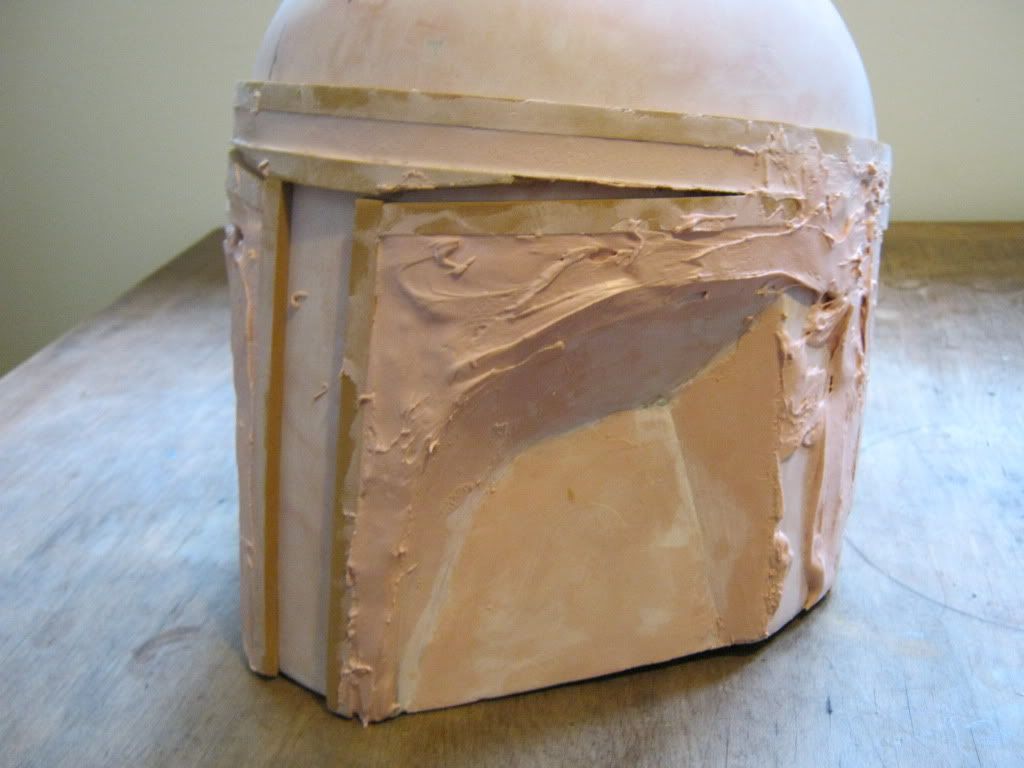


This was then refined, sanded smooth, and finished with spot putty, before being given a coat of primer to show any imperfections.
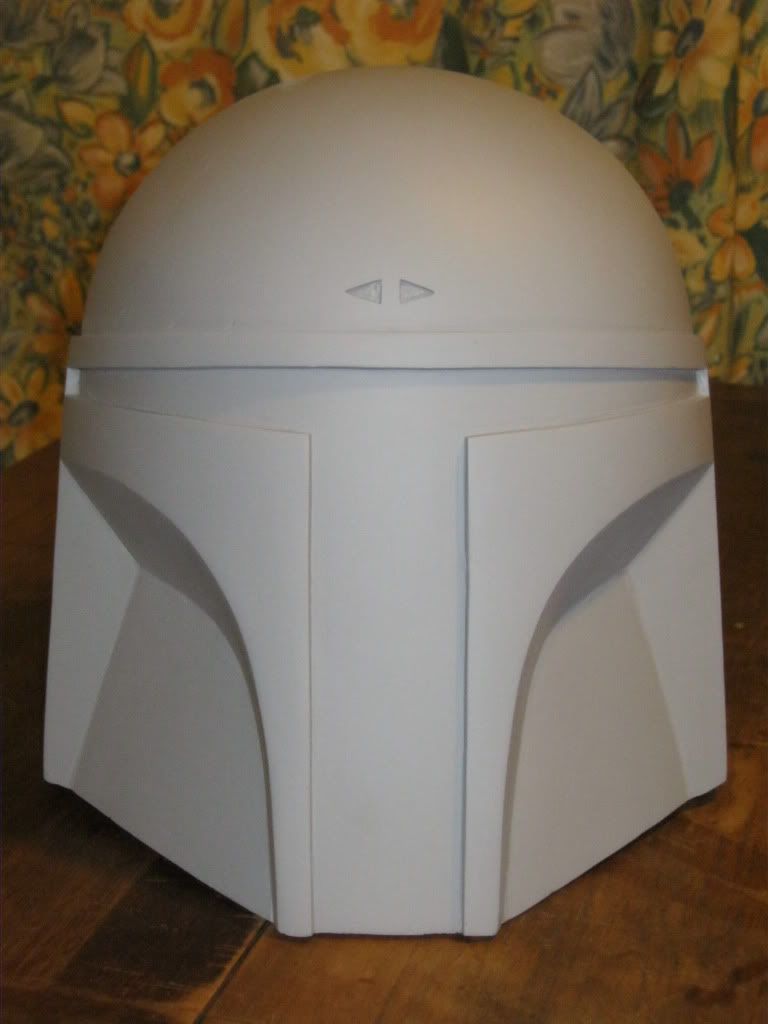
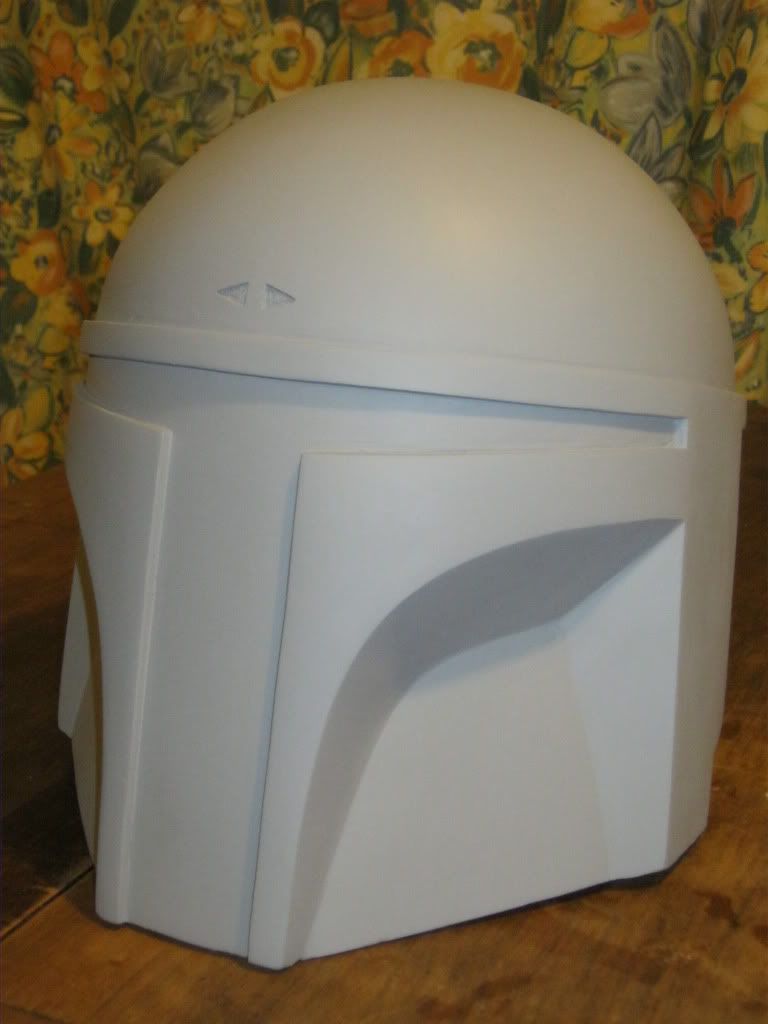
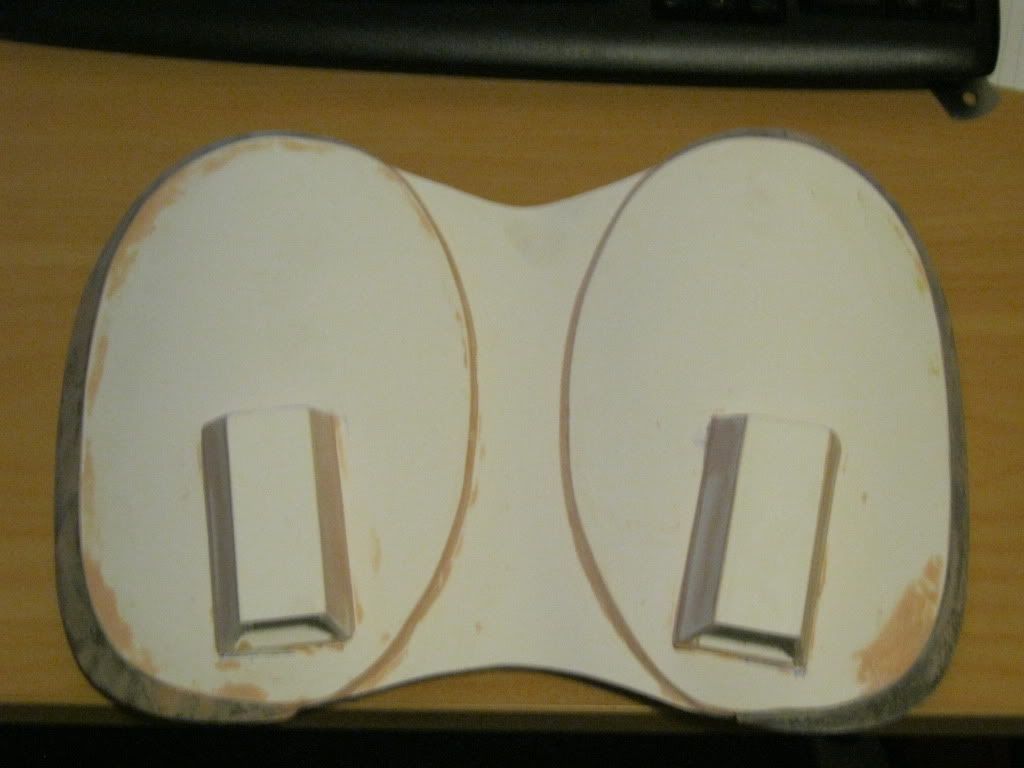
The ear caps were build using several layers of 3mm sintra laminated together and bog to smooth it out.
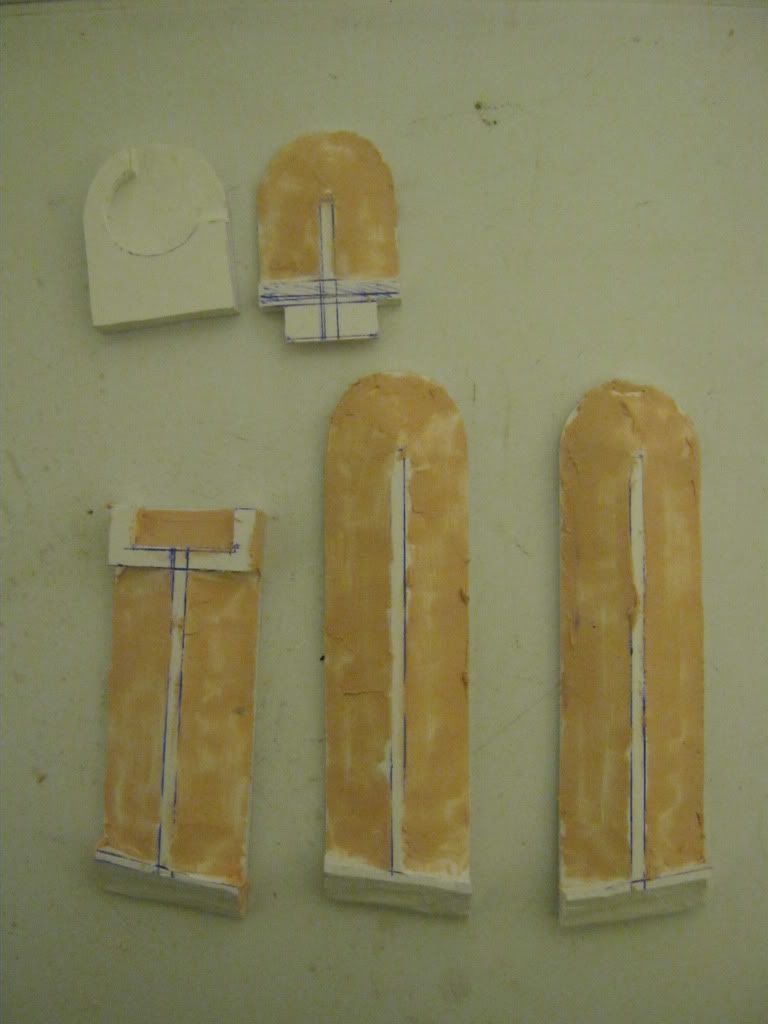


The next step was to mold the helmet so that lighter weight, casts could be produced. Several coats of silicon were applied to the helmet in order to make the flexible mold.
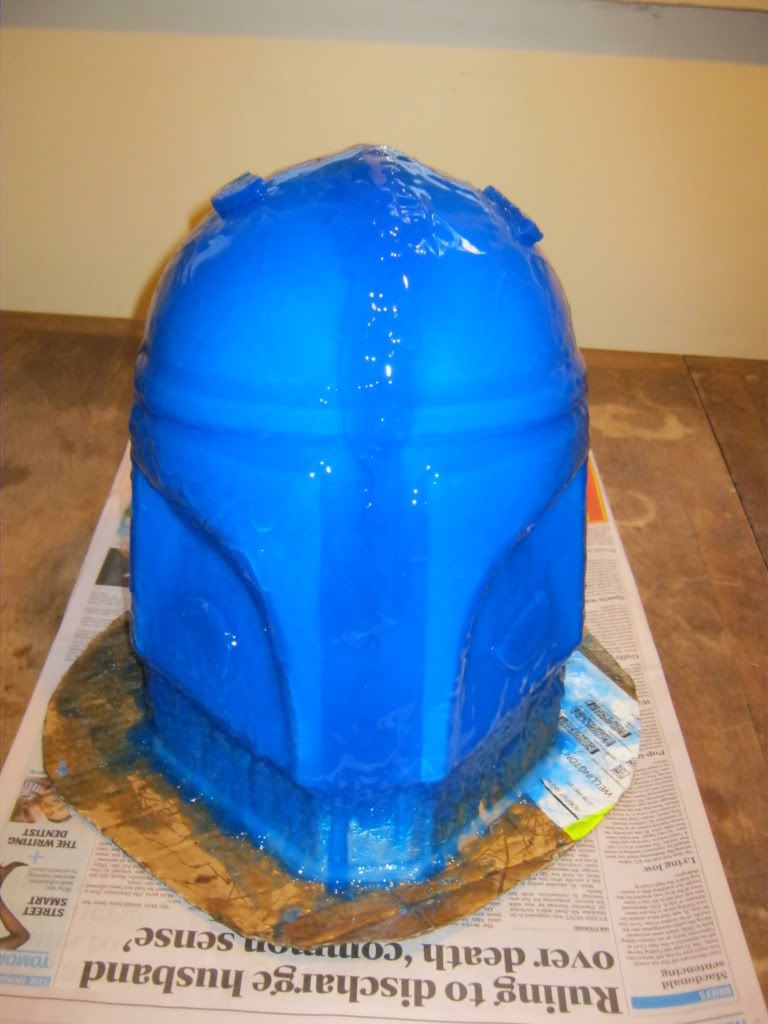


Then a rigid fibreglass mothermold was built up over the silicon, to help it keep it's shape once the master has been removed.
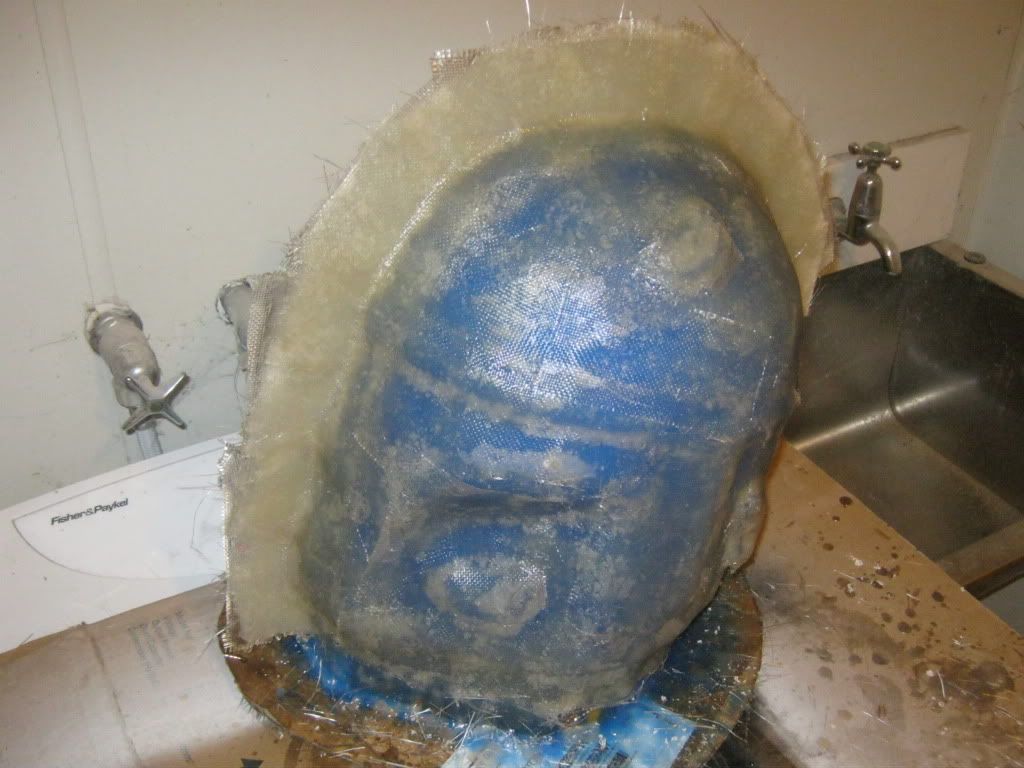


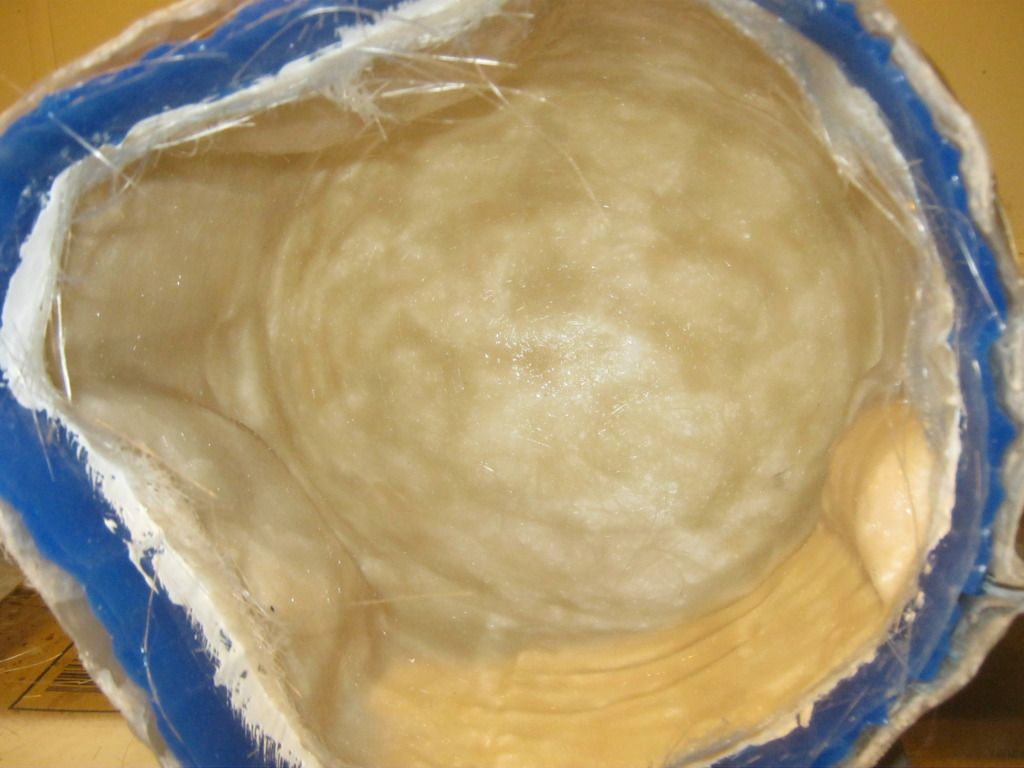
The next step was to remove the master and make a cast. The casts are made by pouring a coat of gelcoat resin into the mold. The mold is then rotated until the inside of the mold has been fully covered. The purpose of the gelcoat is to capture all the detail of the mold, and to provide a nice even surface to the exterior of the finished cast. A layer of fiberglass is then added to the cast. It is this fiberglass that provides the structural strength to the finished cast.


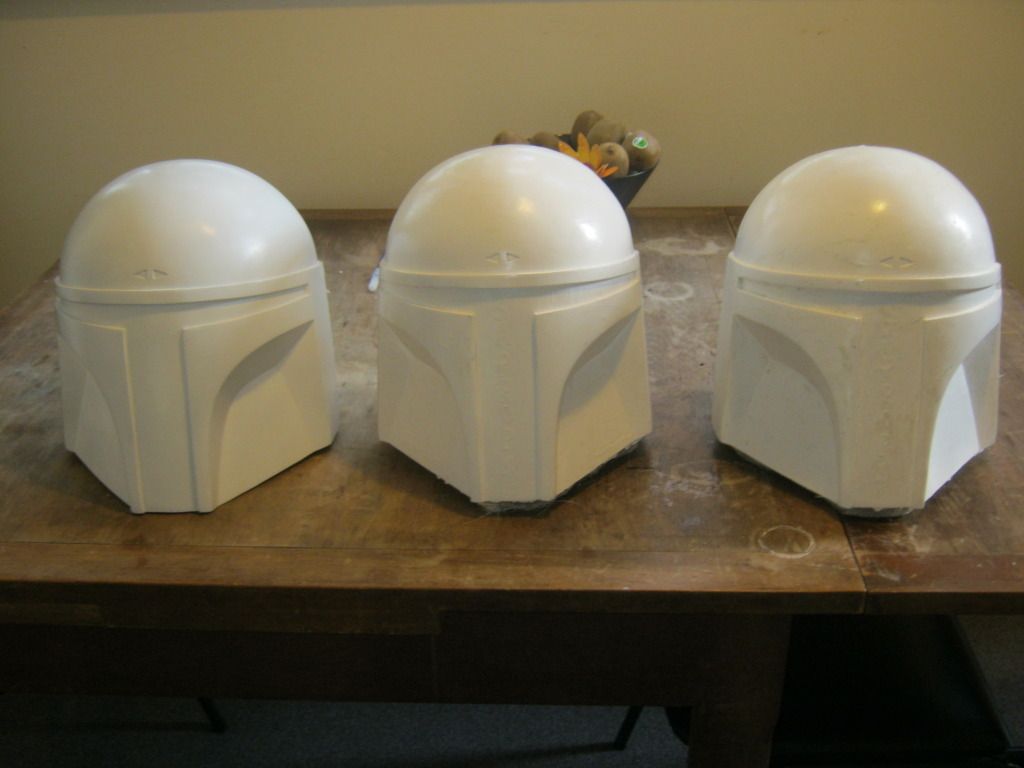
This picture shows the master on the left, the first cast in the middle and the second on the right.

I then made some box molds for the earcaps.

The next step was to paint everything. All the armour was given a base coat of silver, then masked with liquid latex in the places I wanted the paint to appear scratched off. A coat of yellow was applied and more liquid latex was applied. The red primary coat was then applied, after which more liquid latex was applied and the blue detailing and sigils were painted on by hand.
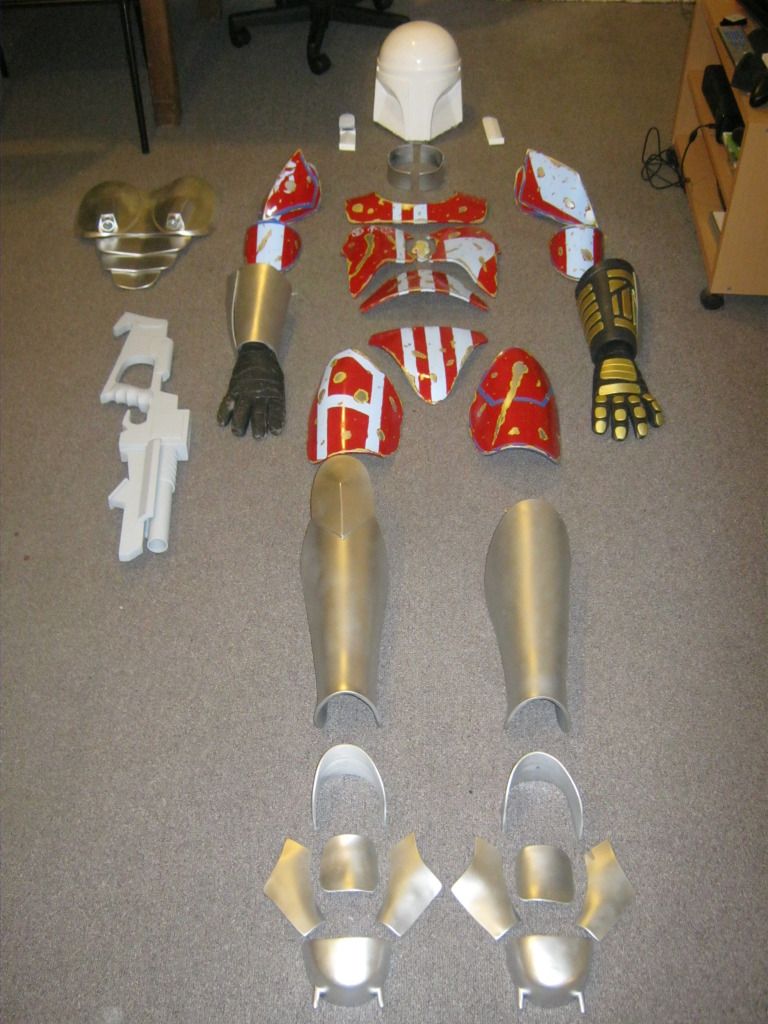
 
This was then given a black wash to make it appear dirty and battered.

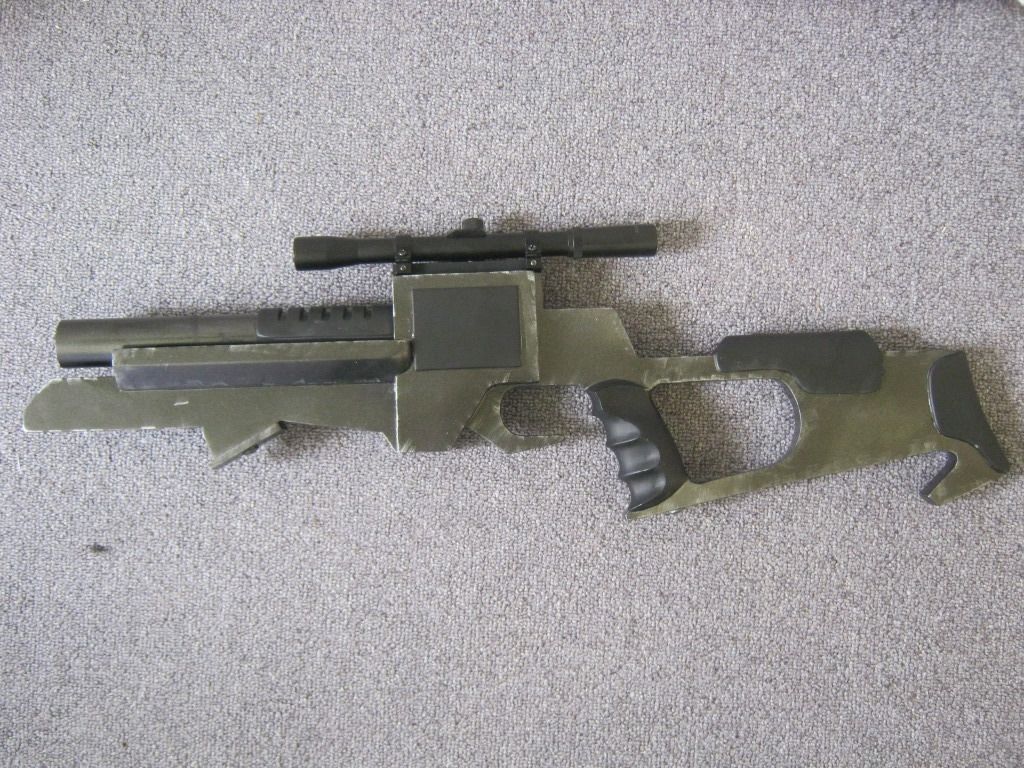
The blaster was made from scraps of materials I found lying around. The base is pine, with the details being 3mm and 6mm sintra, as well as bog and other scraps of wood.
It was painted with a metallic grey basecoat, and the detailling was finished with flat black to give the gun more depth. It was finished with a rifle scope that I got cheap.


The flightsuit and vest were made from cotton drill, and the kama was made from a heavier weight black fabric, reinforced with interfacing to make it stiffer.
The pouches I used were bought from a military surplus store, and are Vietnam War M16 ammo pouches.
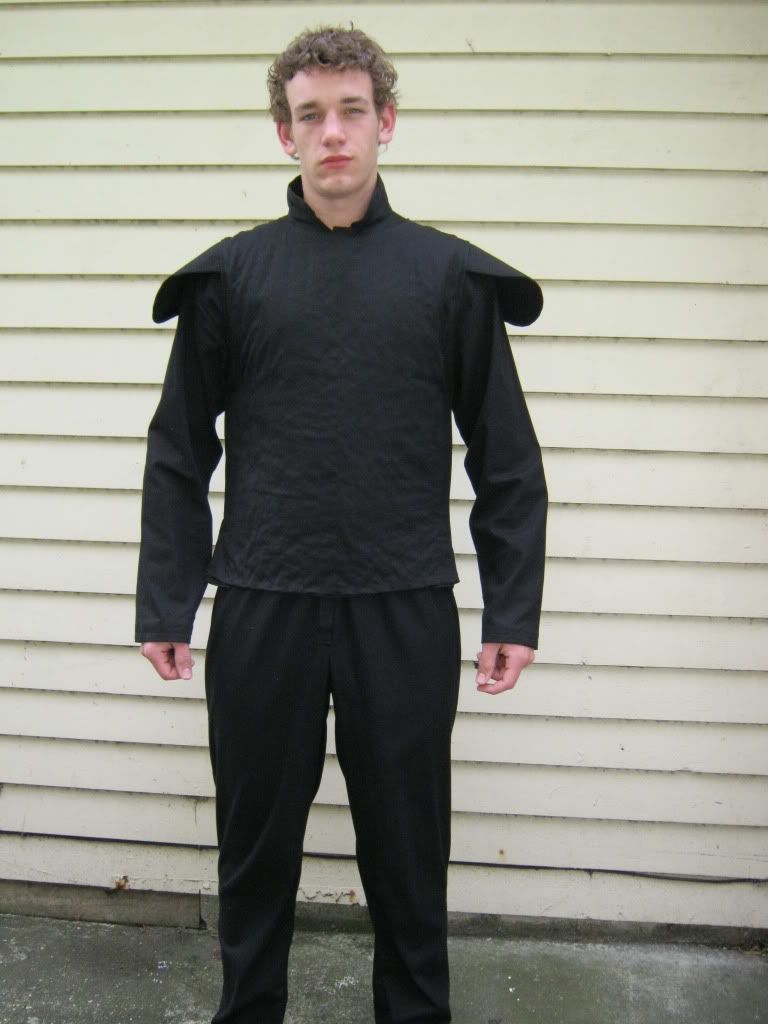
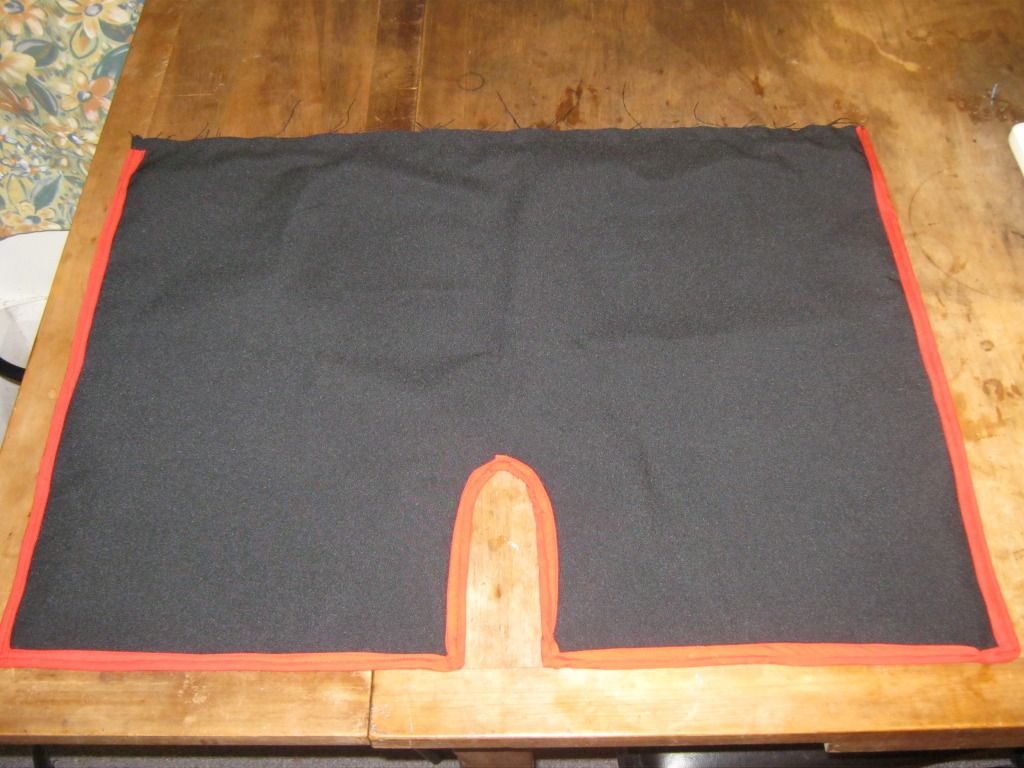


All the plates were then attached to the flightsuit and vest with velcro, and webbing was added to the thighs, shins and biceps to help fold them against my body.


The final costume is something I am extremely proud of. The quality is exactly what I was aiming for and it is relatively comfortable to wear.
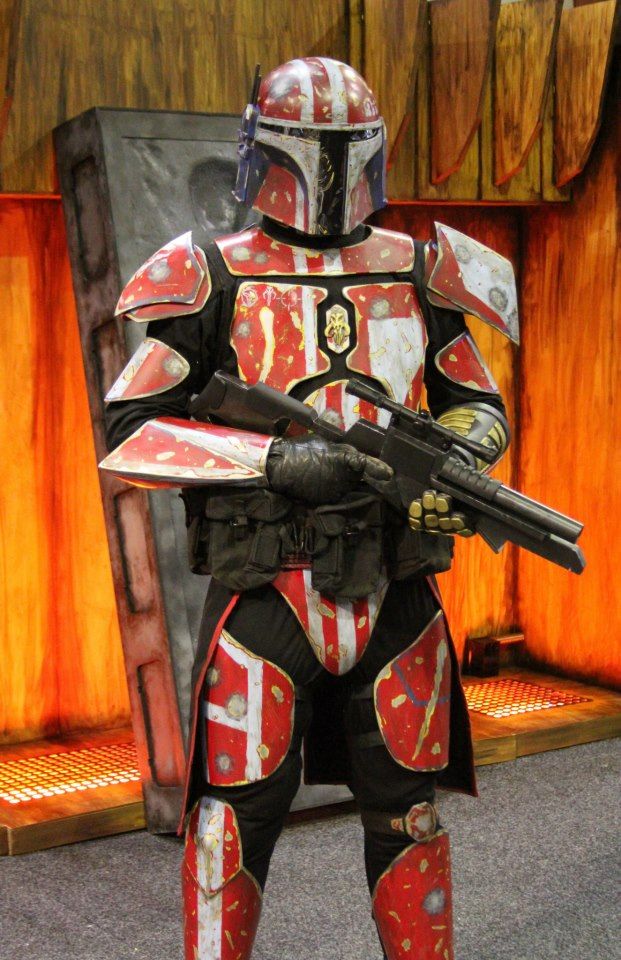

With this costume I applied to the Mandalorian Mercs Costuming Club, and became the first official New Zealand member.
There are a few minor tweaks I want to make to this costume, such as replacing the visor with a black one, and the addition of a side arm, but for the most part it is now complete.

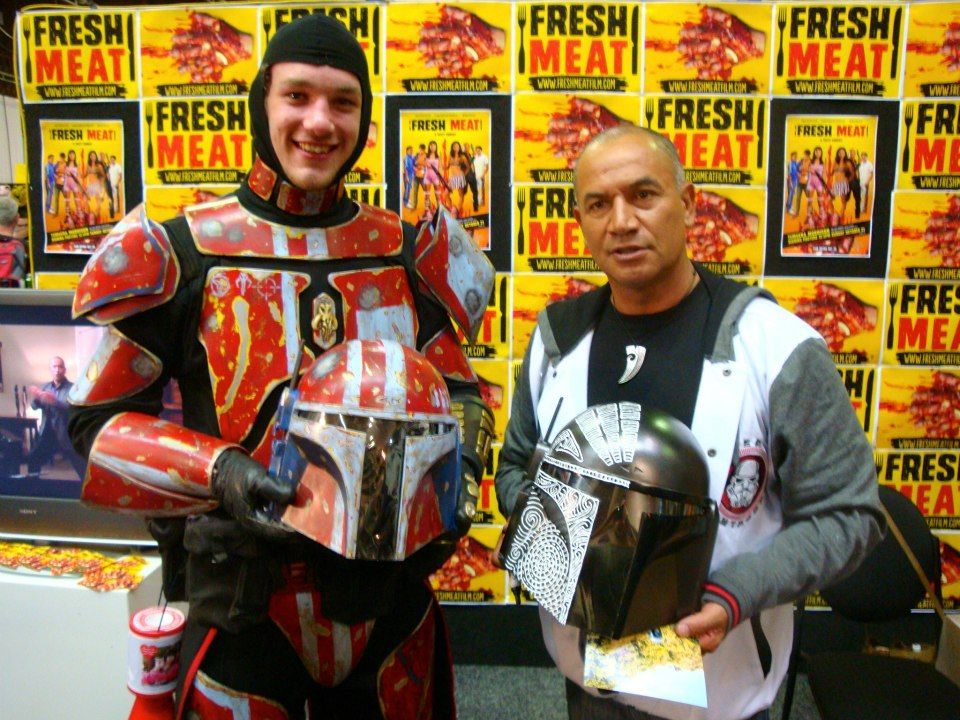
While wearing this at Auckland Armageddon I gifted Temuera Morrison, who was attending to promote his new film, Fresh Meat, with a custom helmet I made for him, which I will do a write up for in a separate blog post, and got a photo taken with him.
Tuesday, 2 October 2012

Current Projects; Part 3 (Mass Effect)

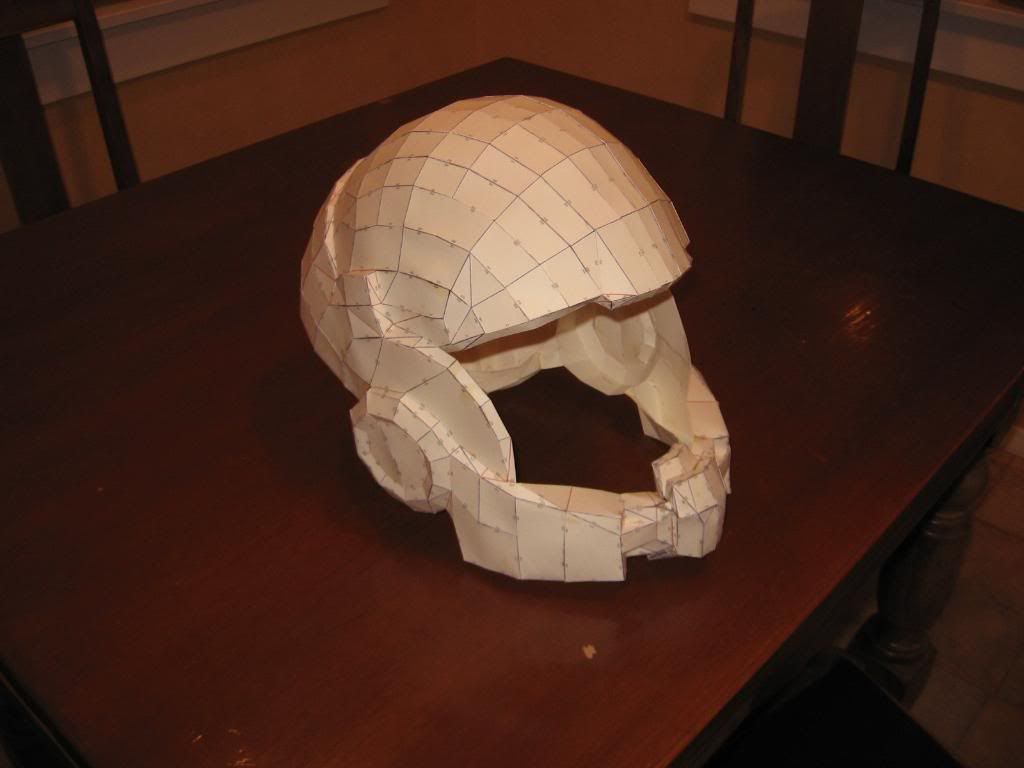
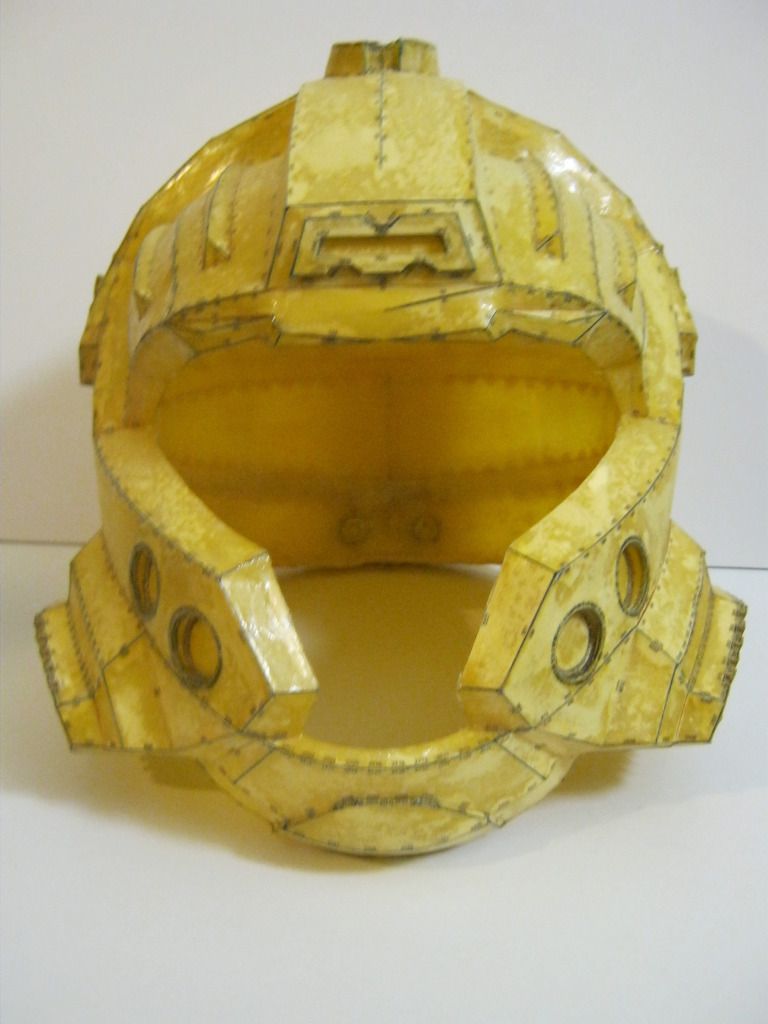
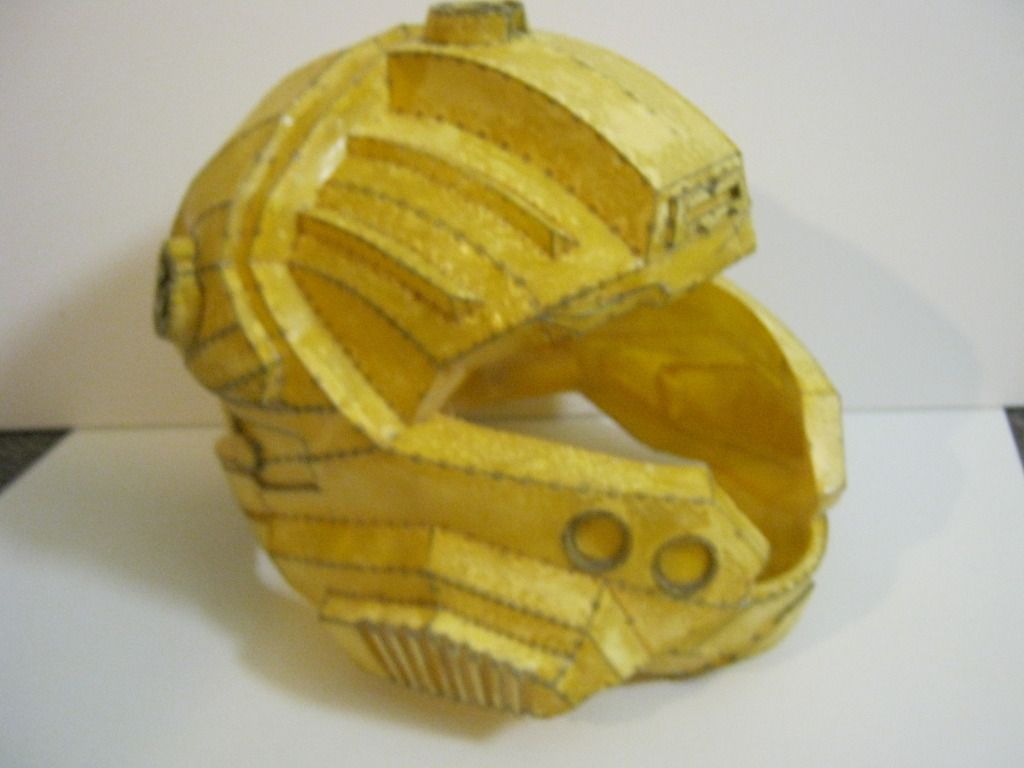
Another project that I have had on the go for quite some time now is the N7 armour from the Mass Effect games. It started a few years back when friend who had exported the helmet model from Mass Effect 1, and put it into pepakura asked if I would be interested in test building the pep file for him to see how easily it went together. The original file he gave me was the open faced version as seen below
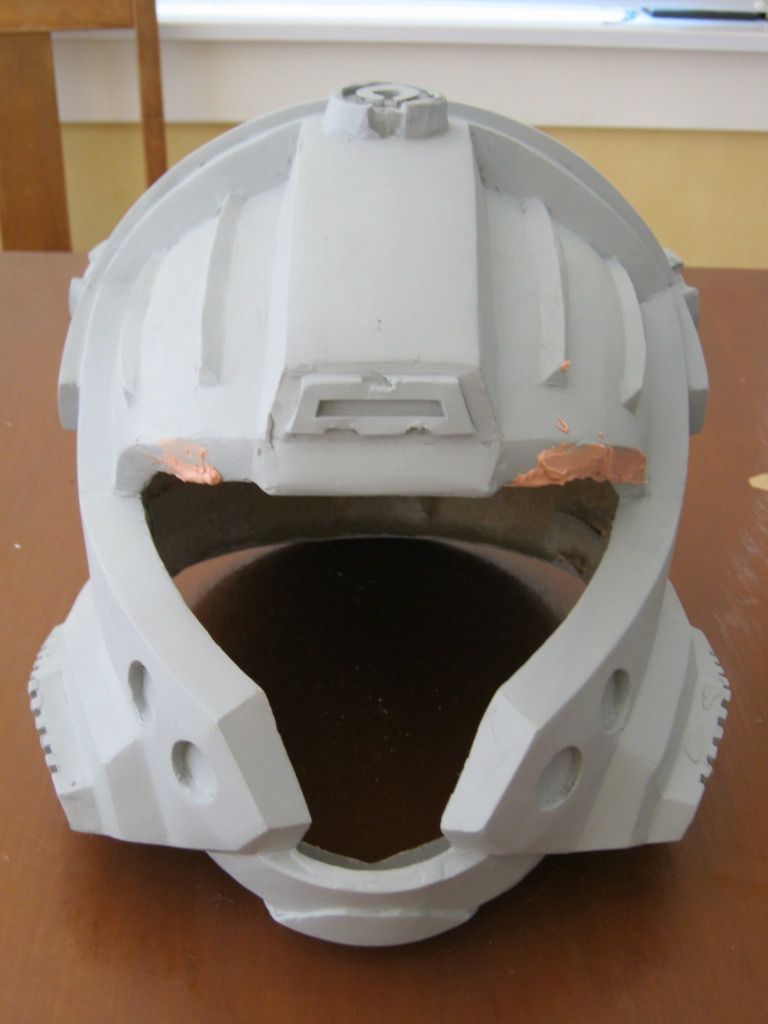
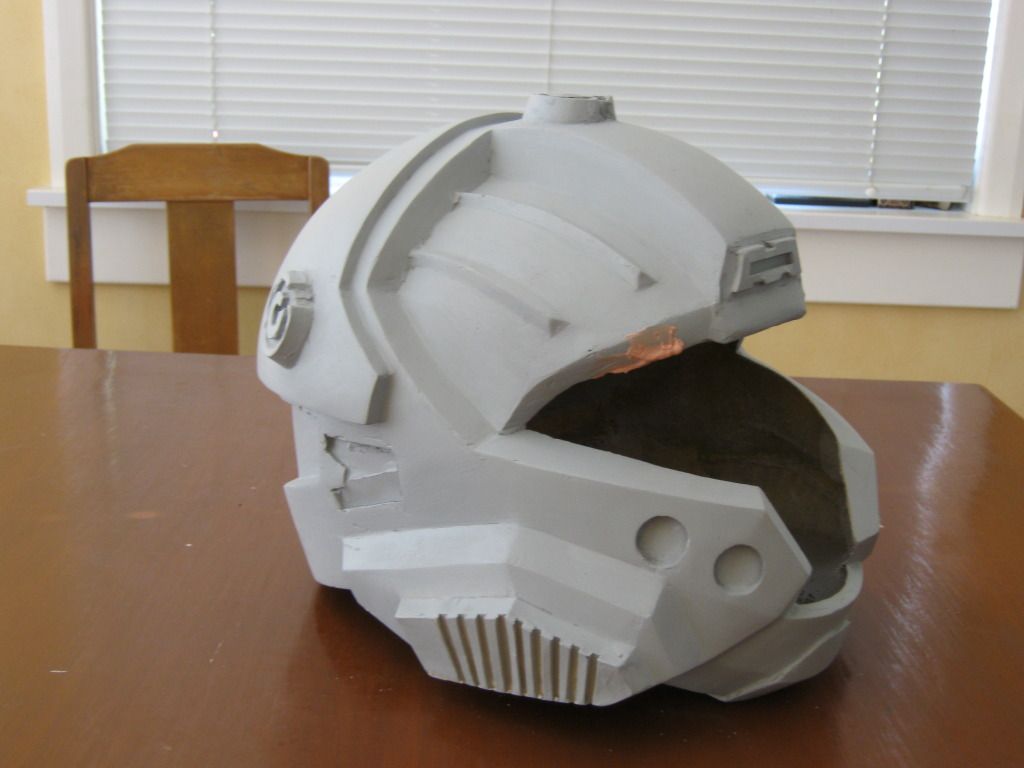
I then fiberglassed this helmet and began smoothing it with bog. When I fiberglassed itthe helmet got placed on it's side which caused the jaw to warp. At first I thought I might be able to fix this warping just by using bog to build up one side. But eventually decided to just rebuild the jaw.

You can see here how warped the jaw is.

While rebuilding the jaw for this I decided to add the rebreather mask to it as well.
I am much happier with this helmet now, and have since done more shaping and smoothing with bog, though don't have any current pictures of it.

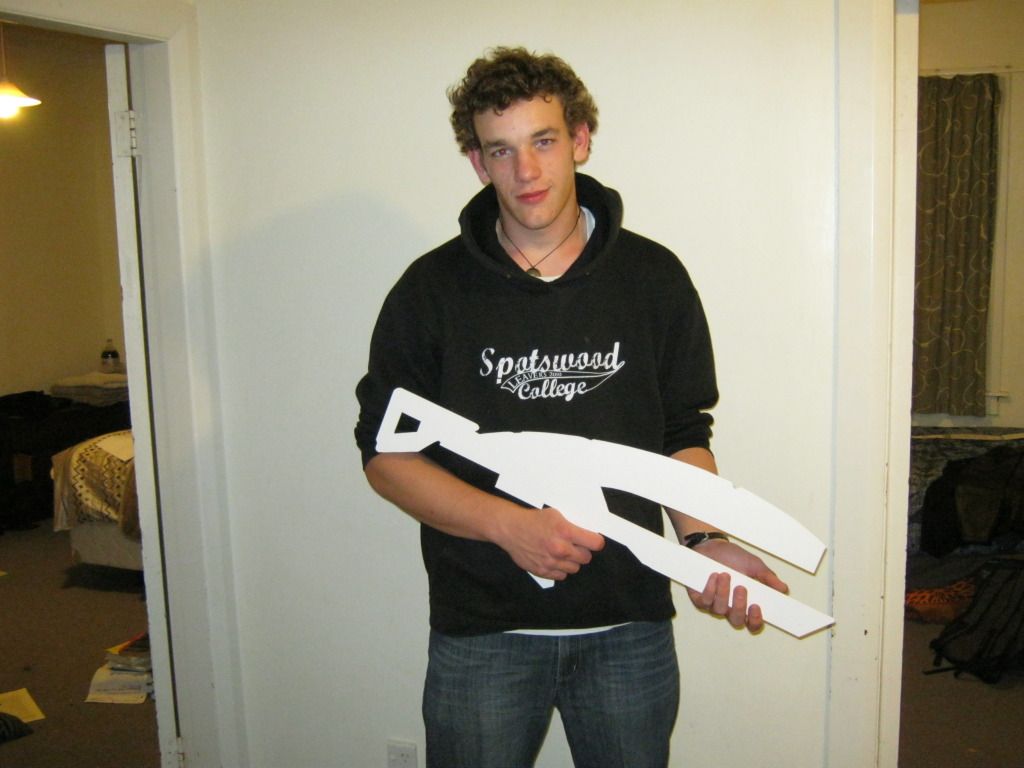
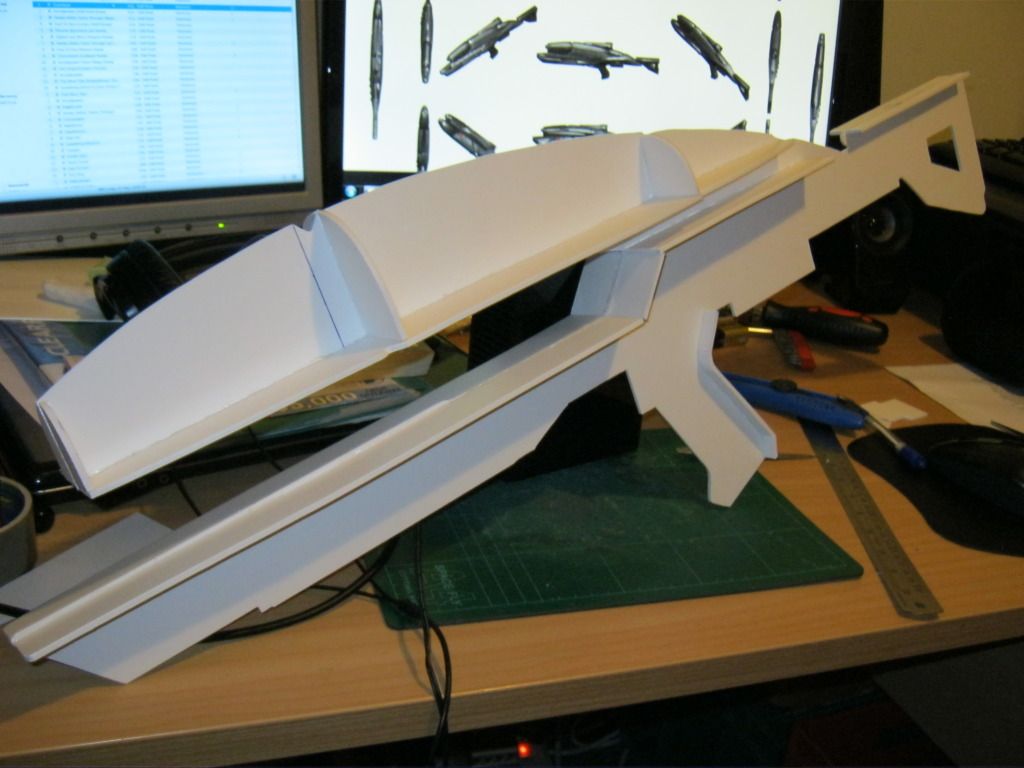
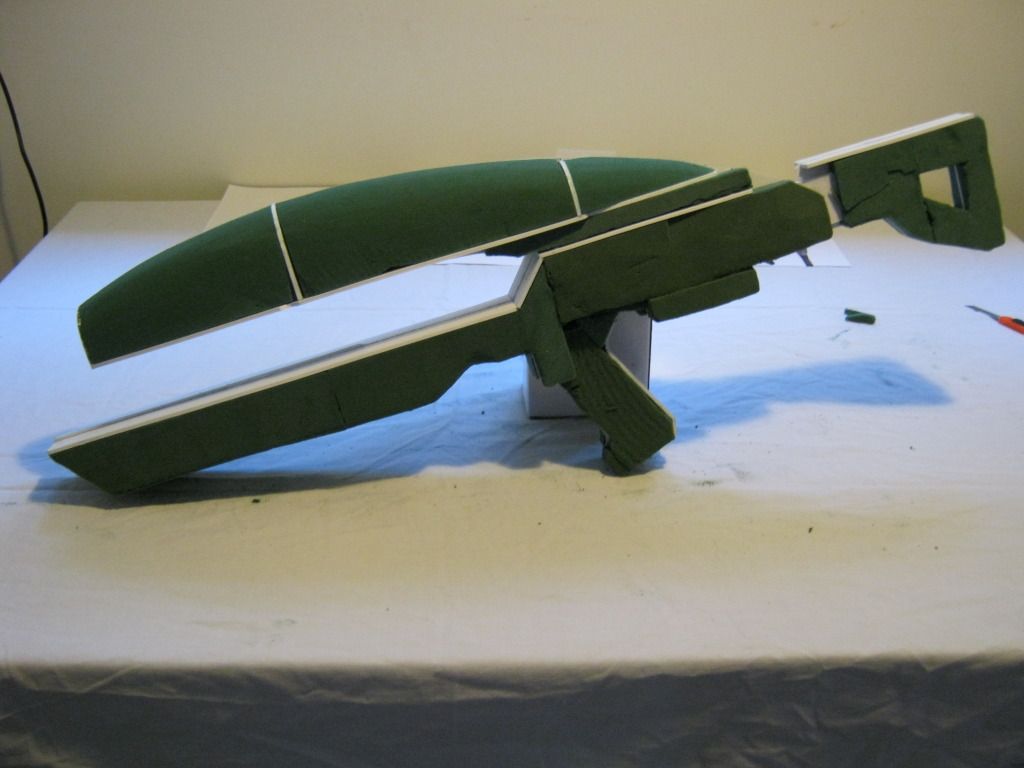
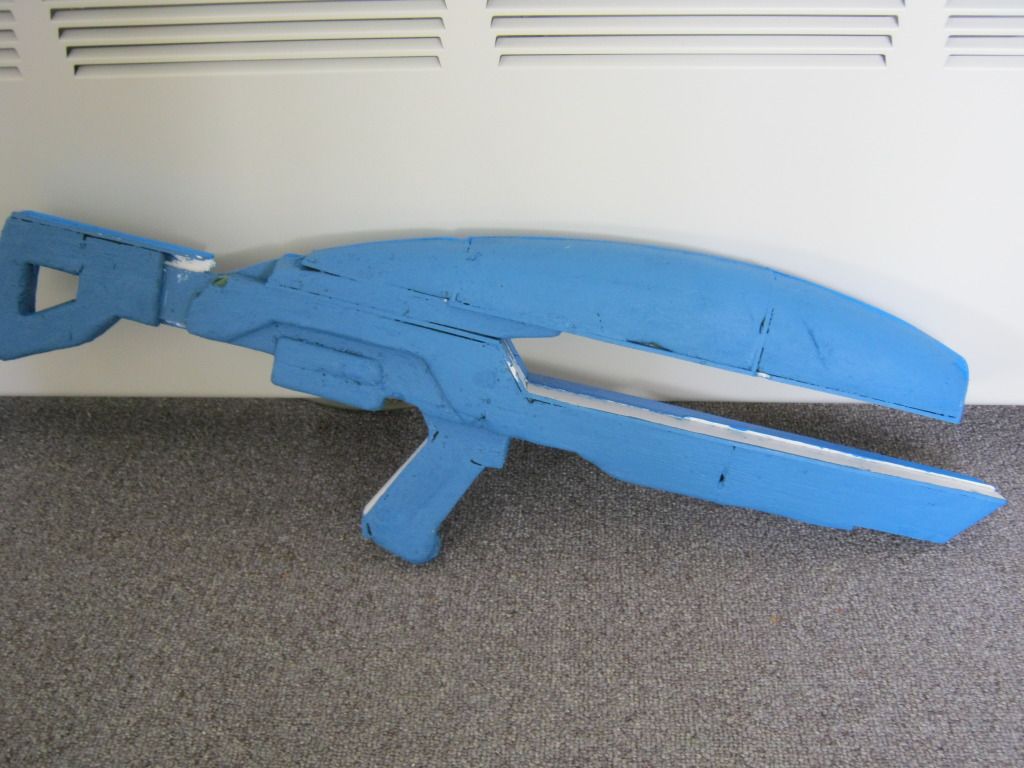
I have also been working on the iconic weapon from the Mass Effect series, the M8 Avenger. I started with the templates Volpin made for his Avenger, and transfered them onto sintra. With the sintra I made several spines to help guide the shape of the gun. I then used floral foam to block out the shape of the gun, and covered it in several coats of acrylic paint to seal the foam as it is quite fragile.
The next step is to skim it with bog to smooth it out and add the detail.

Monday, 1 October 2012

Current Projects; Part 2 (Iron Man)

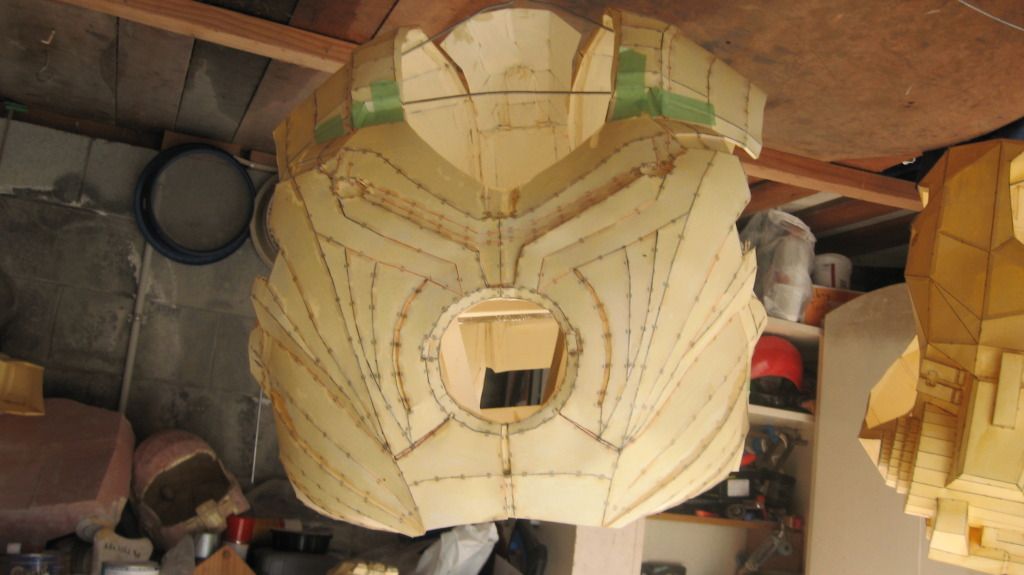
Another project that has been in a stage of partial completion for some time now is my Iron man Mk III chest piece. This version is the first red and gold version of the suit from the movies, and is probably my favourite of all the different movie iterations.
My intention is to eventually create a bust of this costume to use as a display piece, and so will also make the biceps, shoulders, neck and helmet pieces, as well as a light up arc reactor too.
The chest piece started off as about 50 pages of pepakura, and is currently part way through being fiberglassed for strength.

Sunday, 30 September 2012

Current Projects; Part 1 (Halo helmets)

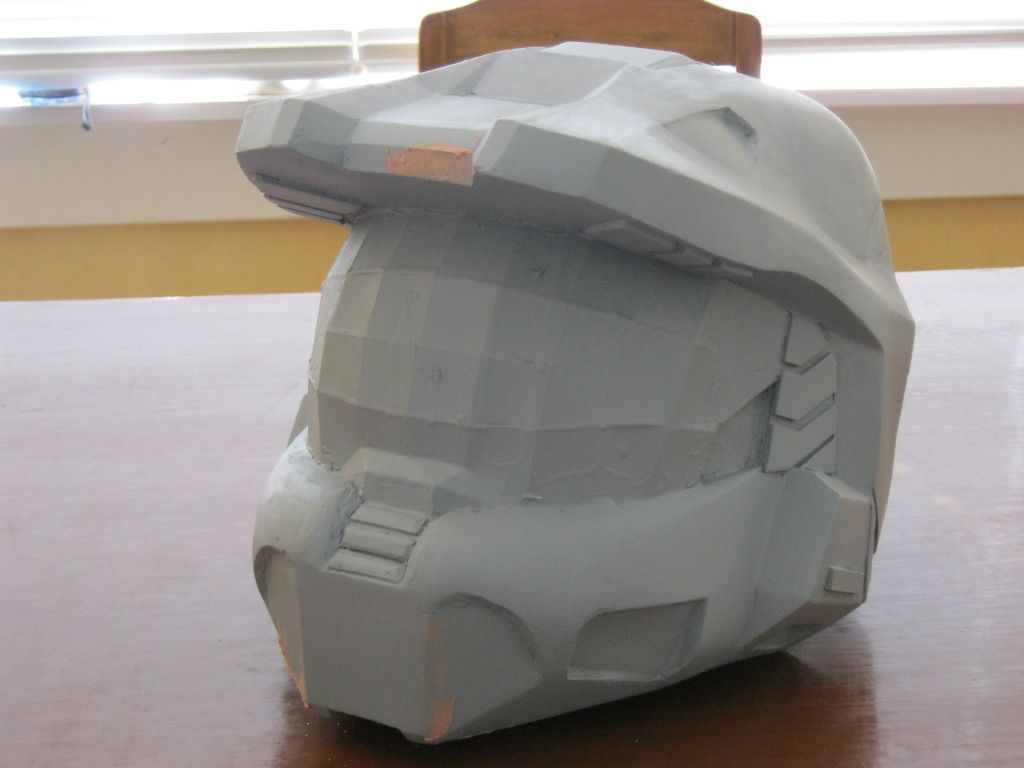
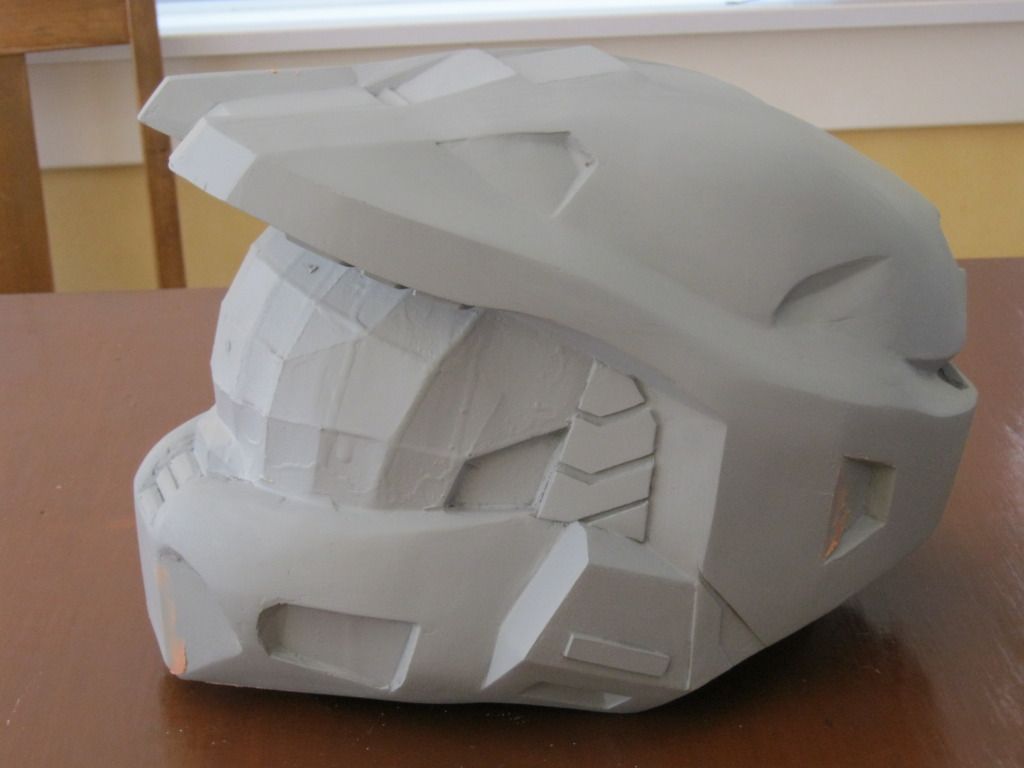
Two projects that I have had on the go for quite some time now are a couple of helmets from Halo, the Mk VI and CQB. Both are made from pepakura which was fiberglassed for strength, and they are now in the smoothing and detailing stage.

MK VI
This helmet is very near completion now, and only really needs a little more work with bog, and then a few passes with spot filler. All the raised details where added on part way through construction as they were not included in the pepakura file I used. They were made with 1 and 2mm card, which was coated in resin for durability.


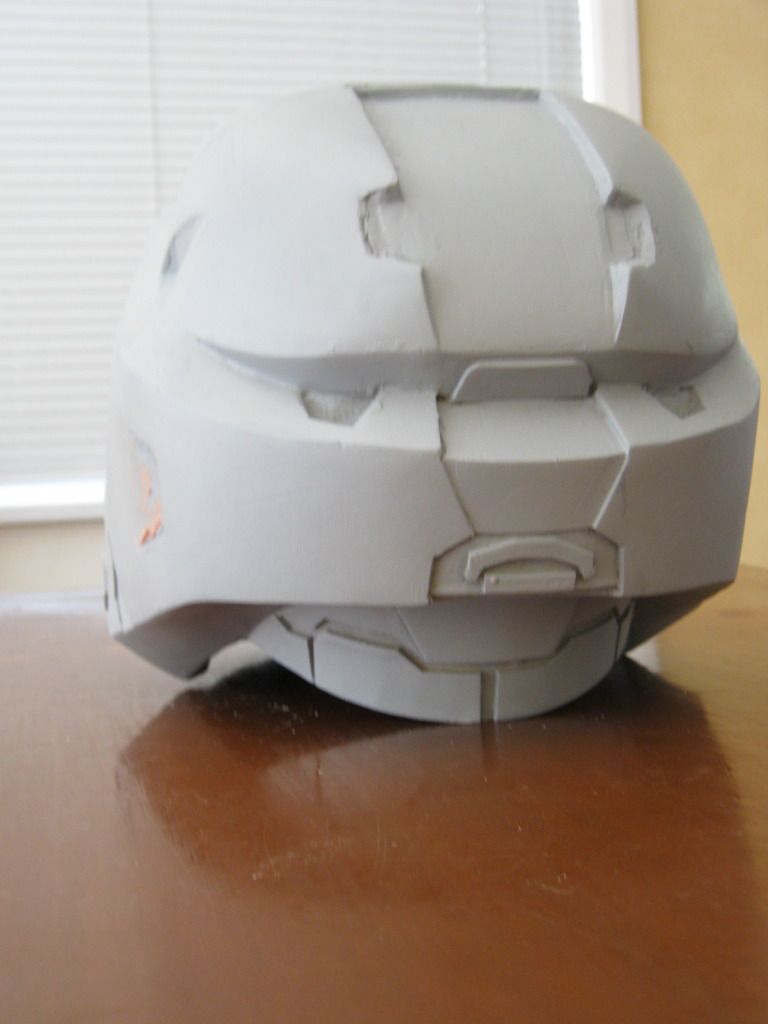
CQB
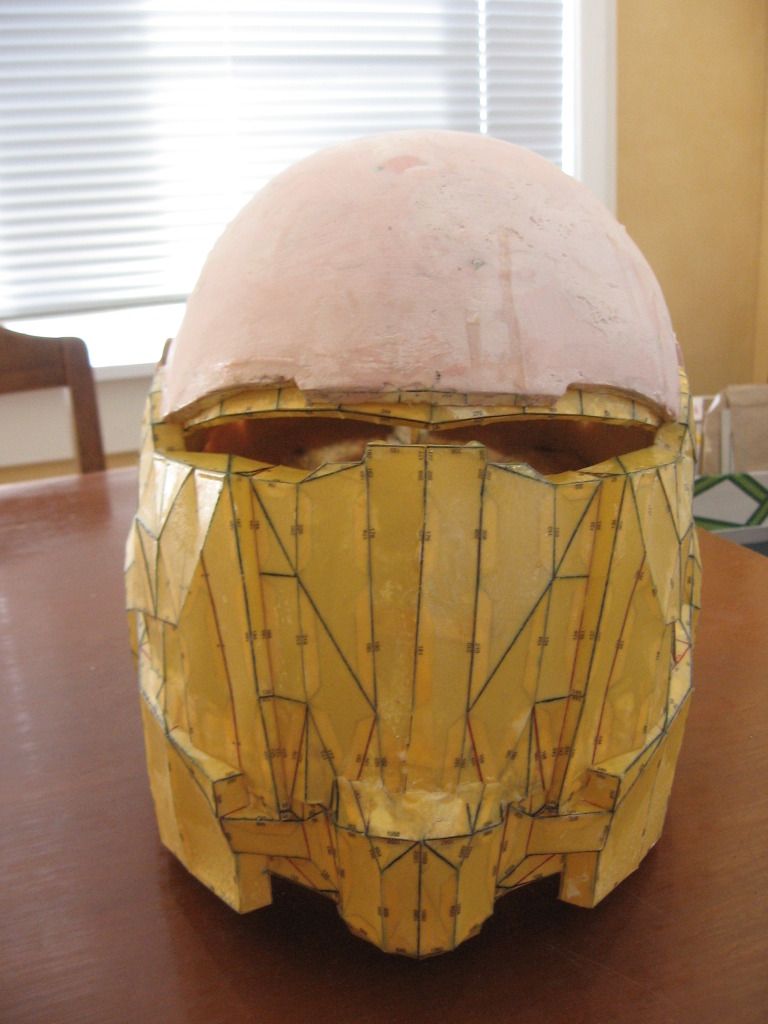
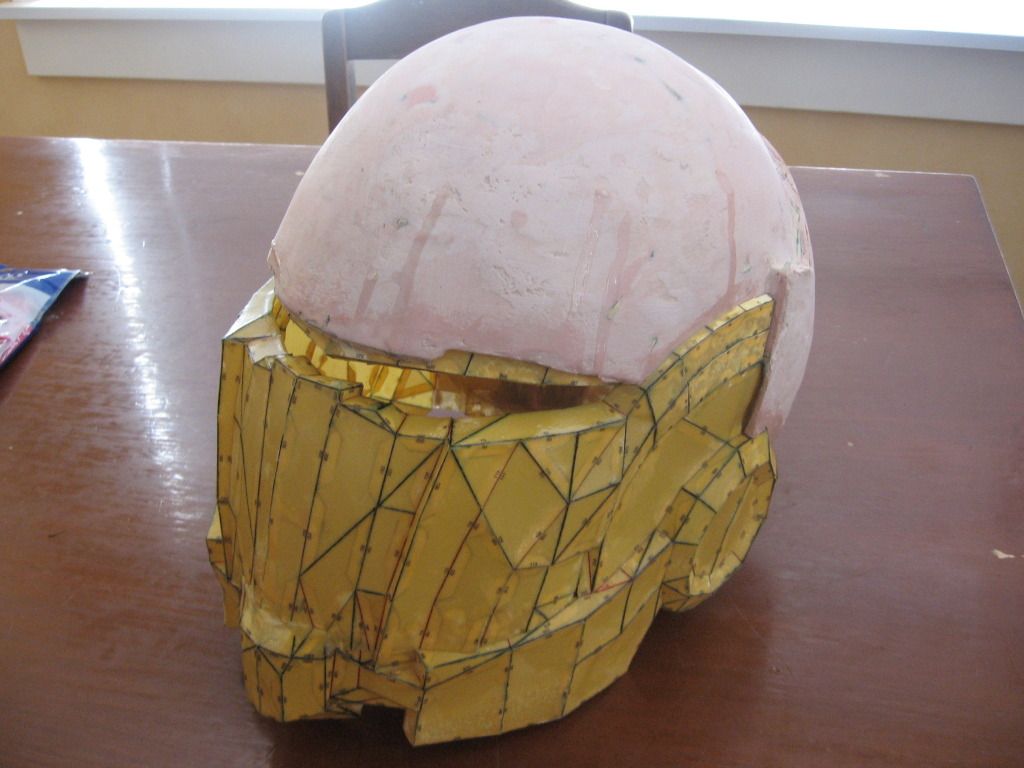
This helmet is not quite so far along as the other, and still needs a fair amount more detailing yet. Details will be added with card as was done on the Mk VI helmet, and the three knobs on the helmet will be removed, a master will be made them molded and cast, in order to get three identical pieces.
I have some images of this helmet in the early stages, after it had been fiberglassed, but before I had started to apply bog.

Both of these helmets are at home so I only get a chance to work on them when I am back visiting over the uni breaks. However while I am there I get quite a bit done on them as I don't have anything else to work on.

Thursday, 20 September 2012

Projects Past: Part 10 (Jango Fett v 1.1)

In the intervening time since Auckland Armageddon in '09 I have been slowly working toward making my Jango Fett costume more screen accurate. The biggest alterations are the new, larger and more accurate gauntlets and the jetpack as well as weathering and other small bits and pieces.
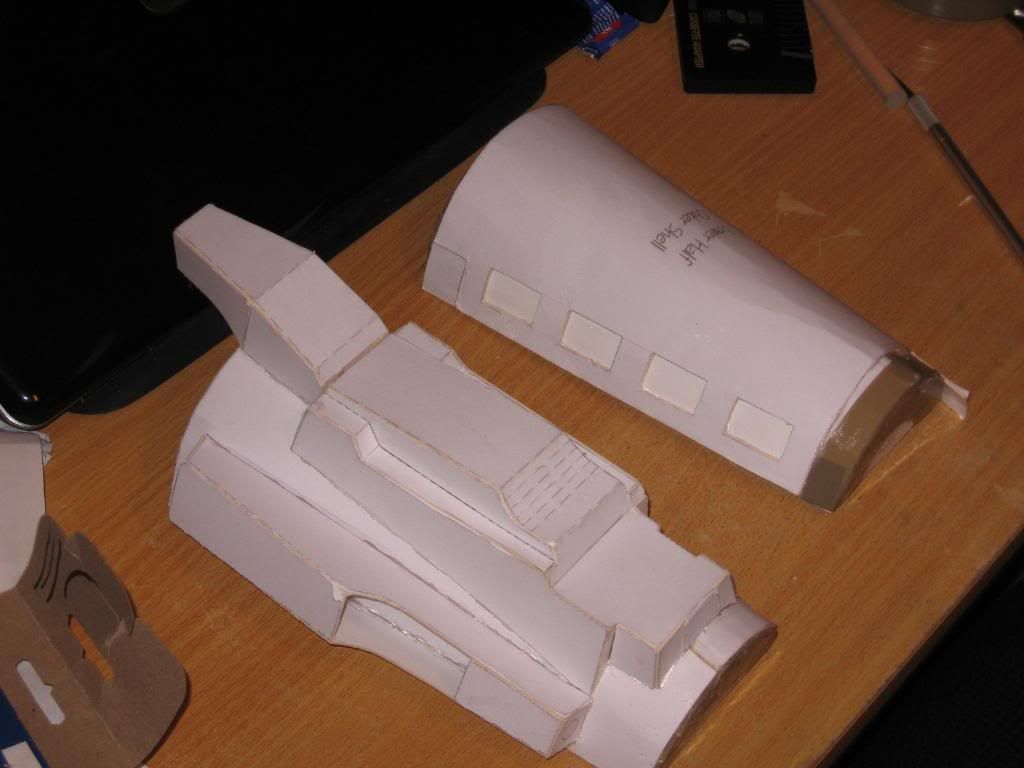
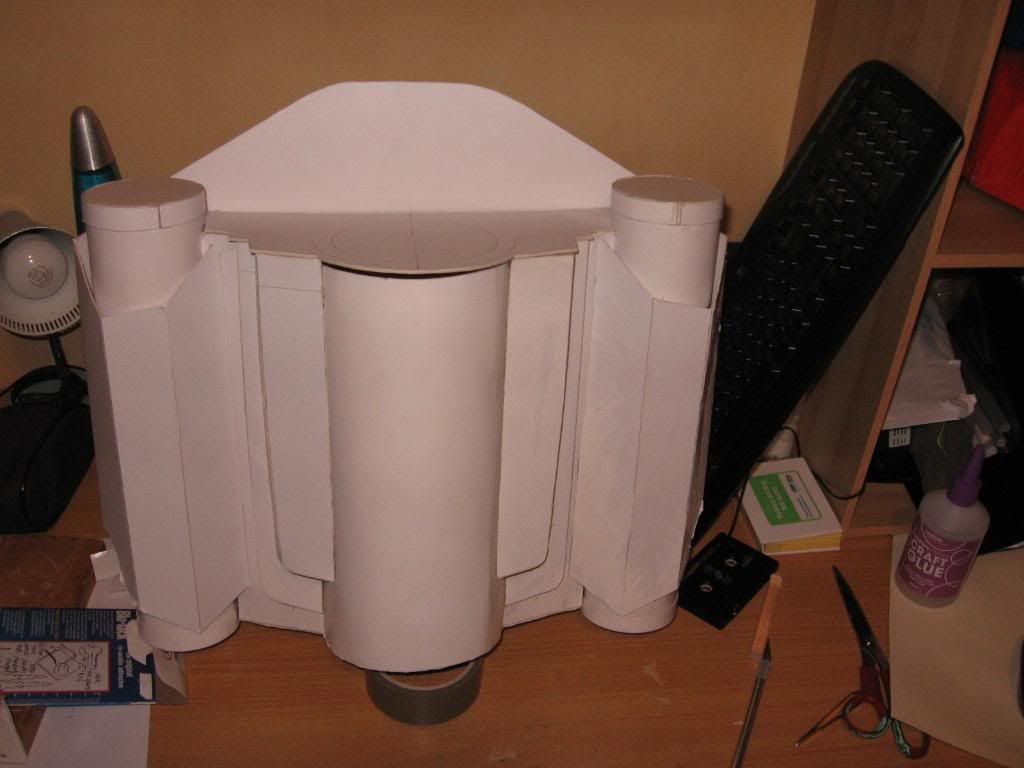
Both the gauntlets and jetpack were constructed from 1mm and 2mm card, which was then fiberglassed for strength and detailed with bog.

Cardboard base for the gauntlets
Comparison with the old gauntlets;
The new gauntlets are the two in the middle.
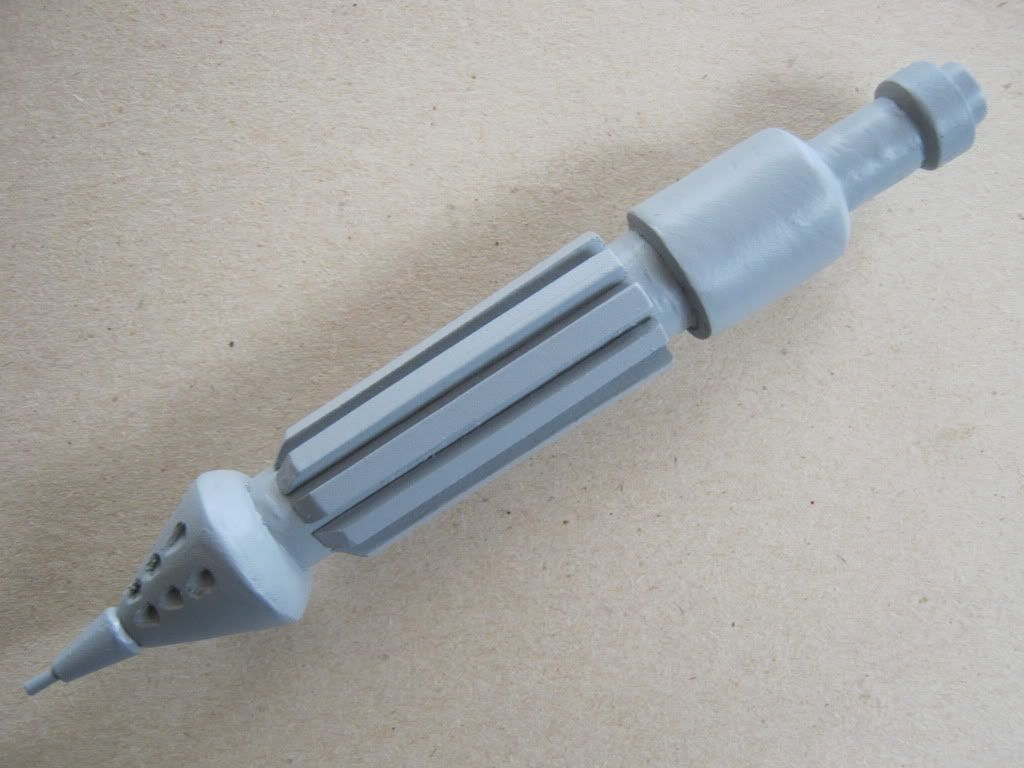
I also scratch built a mini rocket to go on the left gauntlet
These were all then painted up and weathered appropriately.

The rocket body under construction

Smoothing and detailing;

I used expanding foam to fill some of the captivates to help add strength, without making the jetpack too heavy.

I don't have any good photos of the finished jet pack but these photos are of the whole costume in it's current state.
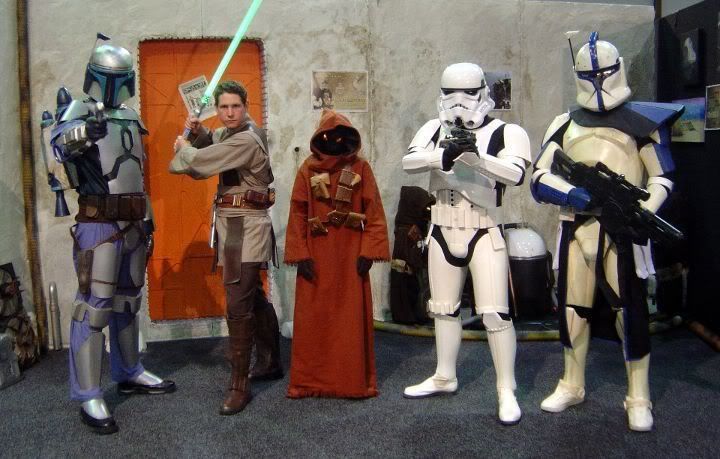
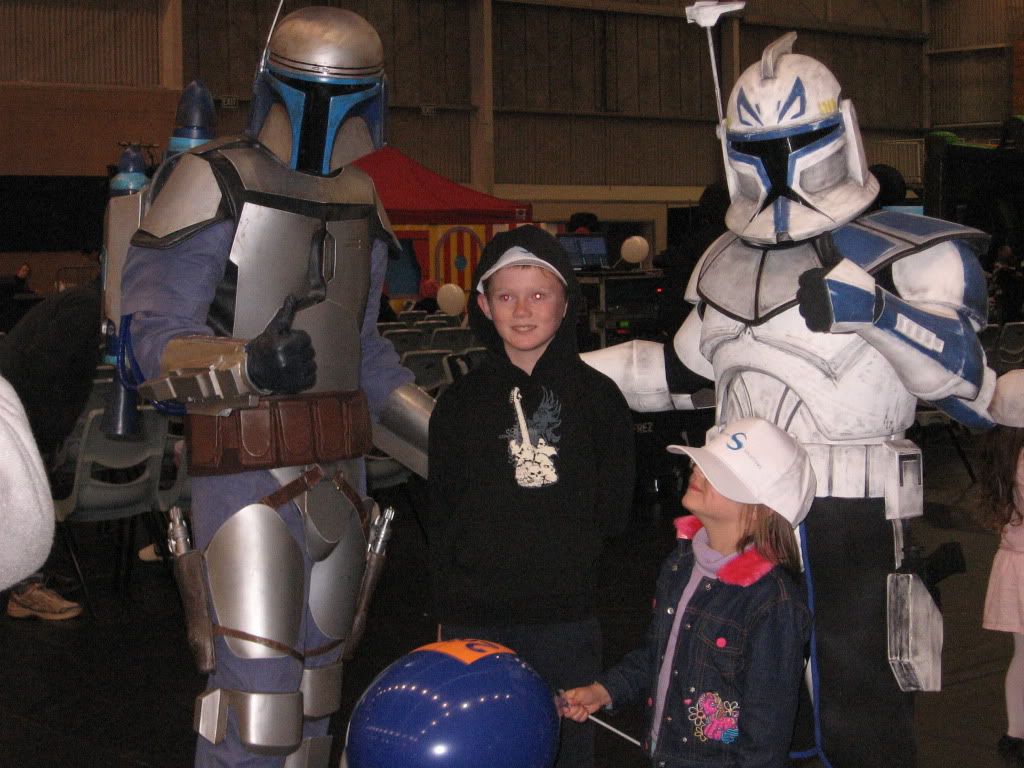
 This one was taken at Auckland Armageddon last year with some members of Outpost 42, the local contingent of the 501st.


This photo was taken in July this year at an event for disadvantaged and disabled children, again with a member of Outpost 42.

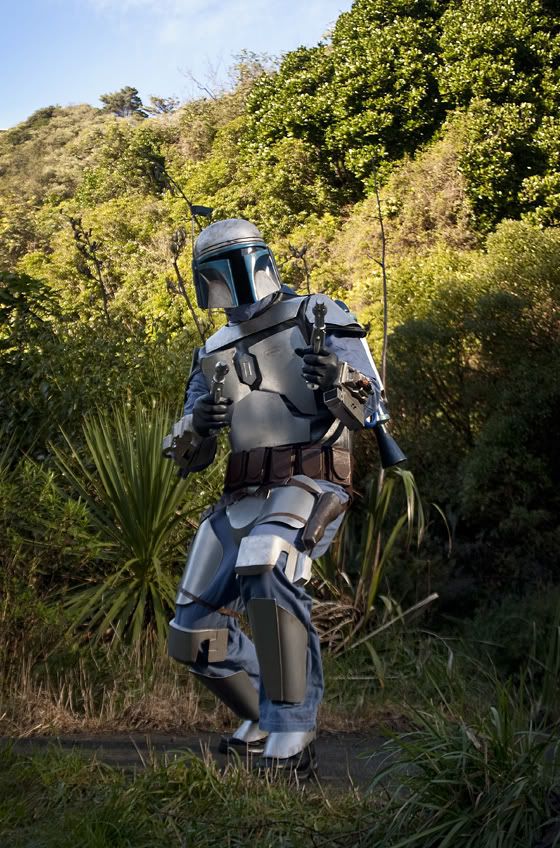
Finally this photo was taken a month and a half ago at a photoshoot with a professional photographer. There are still a few more details that need to be changed/altered before this costume will be finished so stay tuned for updates on it in the next few months or so.

Tuesday, 18 September 2012

Projects Past; Part 9 (300 Spartan)

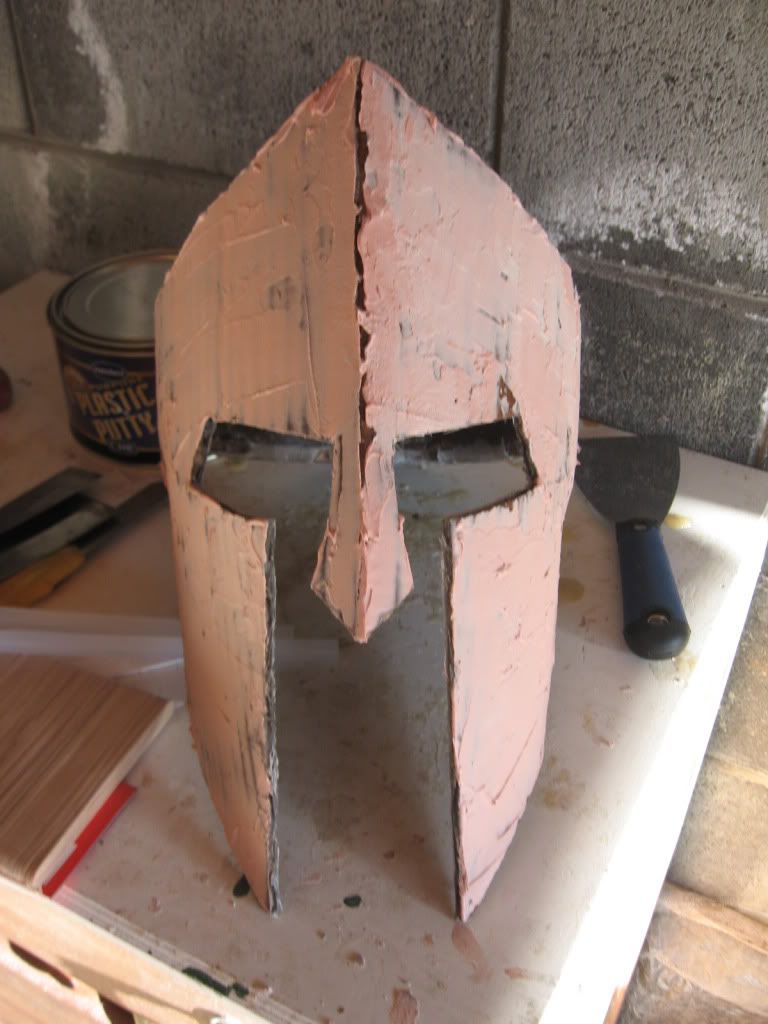
While at high school I had a really good friendship with one of the teachers who taught me English for two years and then Classical studies for two more. Near the end of my last year I decided to make a Spartan helmet from the movie 300, to gift to him. All up it took me less than 2 weeks from start to finish. I started by looking at reference images from the film and made a template in cardstock. The template was then transfered onto corrugated card, which was shaped and assembled with hotglue. It was then fiberglassed for strength and bog was used to smooth it out.
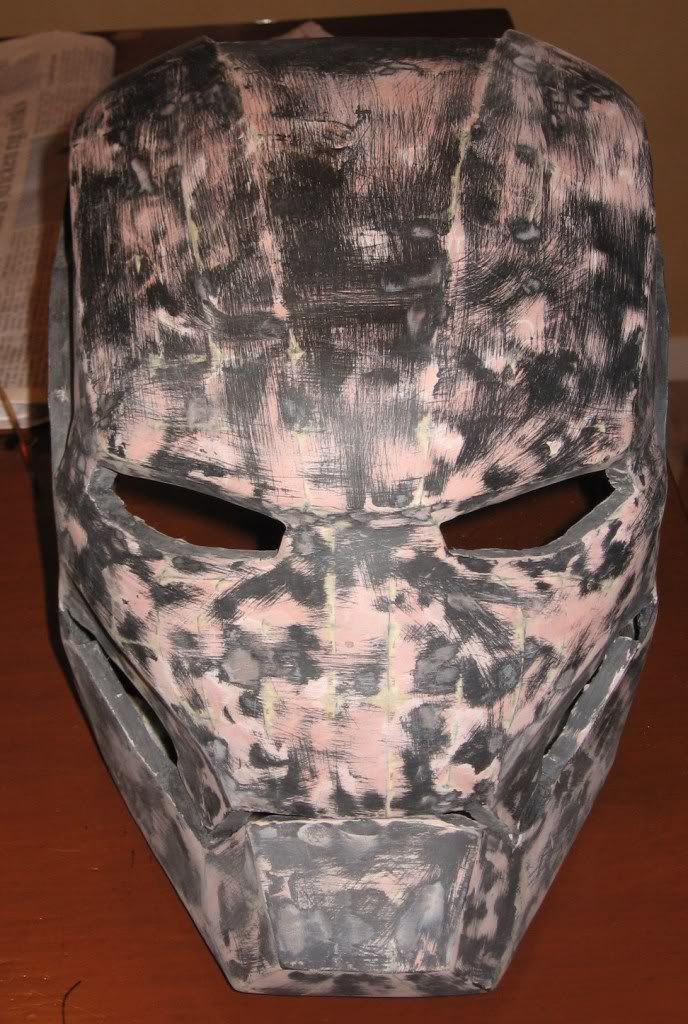
As with the War Machine helmet, I then sanded it, then primed it so show the imperfections, applied more bog, sanded, prime etc until it was nice and smooth.
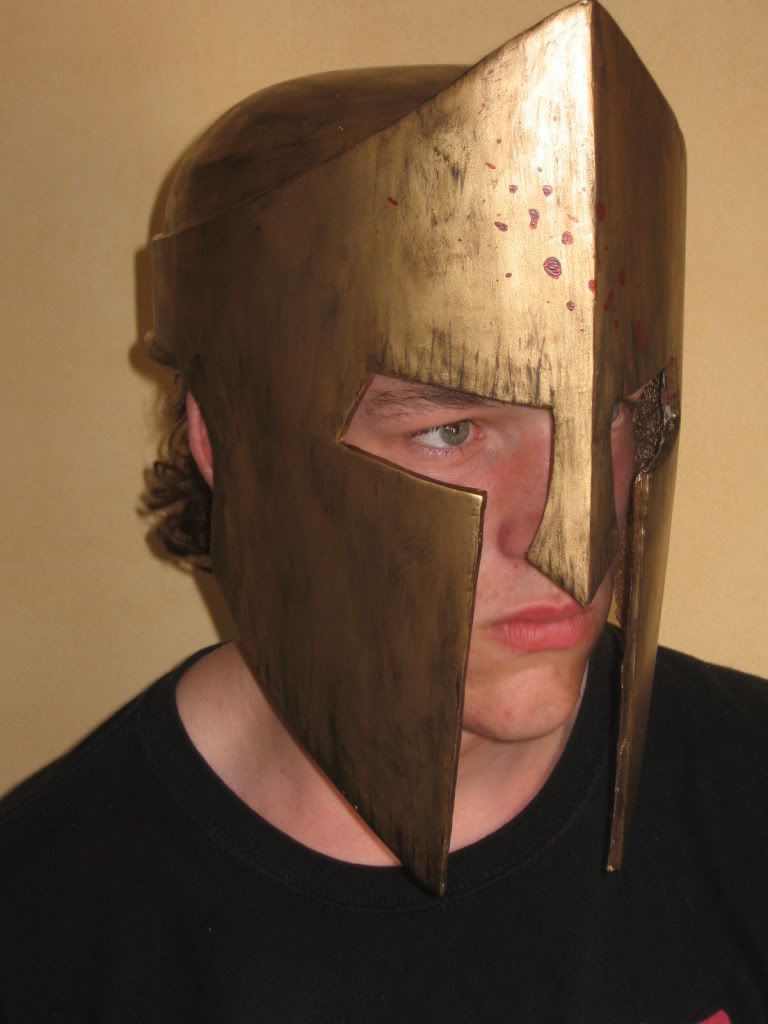
Once it was all smoothed out to my satisfaction the final step was to paint it up so it looked used and dirty.
Again I looked at reference images to see how the weathering was done for the movies and replicated that on my helmet. I also added a blood splatter across the face for good effect.

Eventually I will revisit this and build one for myself, using what I learnt building this one, and I will add more 3 dimensional details to make it look more like it has been forged, and some scratches and gouges for battle damage.

Monday, 17 September 2012

Projects Past; Part 8 (War Machine Helmet)

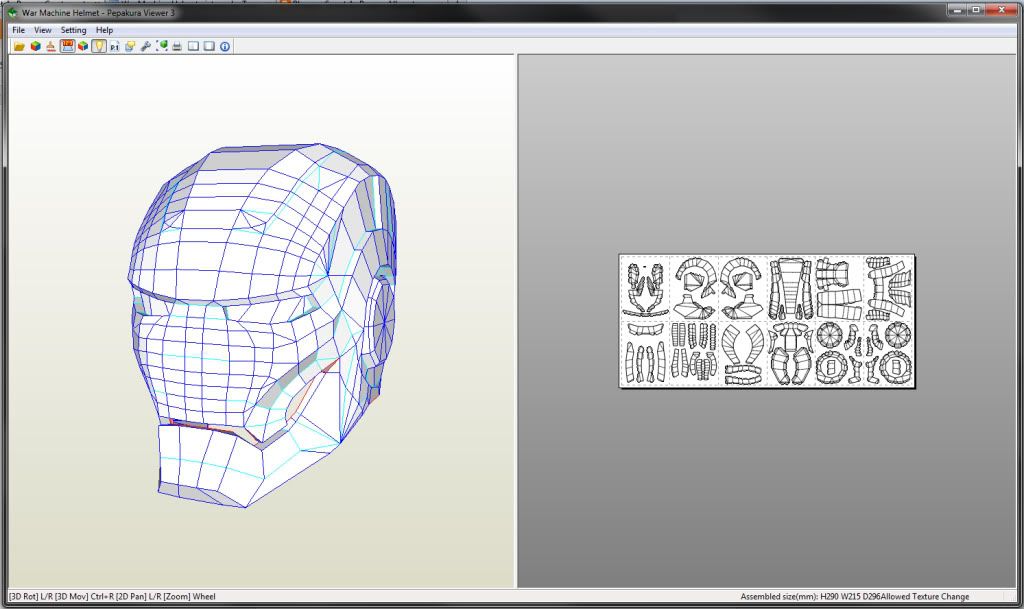
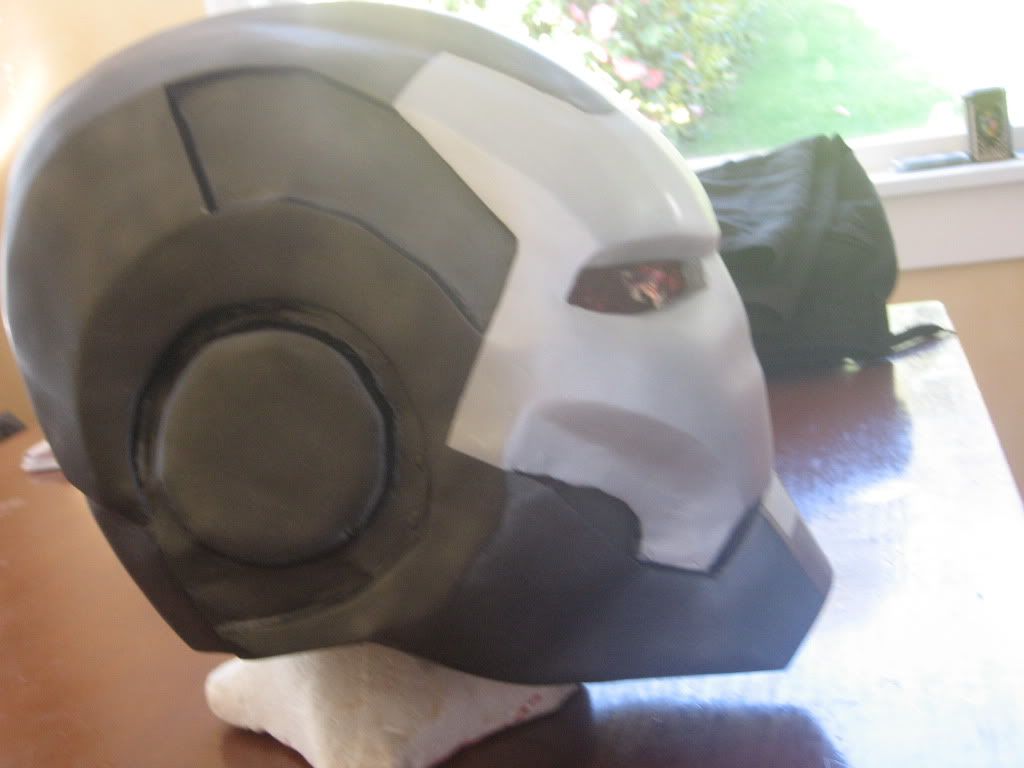
Around the time leading up to the release of the Iron Man 2 movie I decided to make a War Machine helmet to wear to the release. I found a pepakura file for the helmet, and although it was very basic, given the amount of time I had I decided to use it.
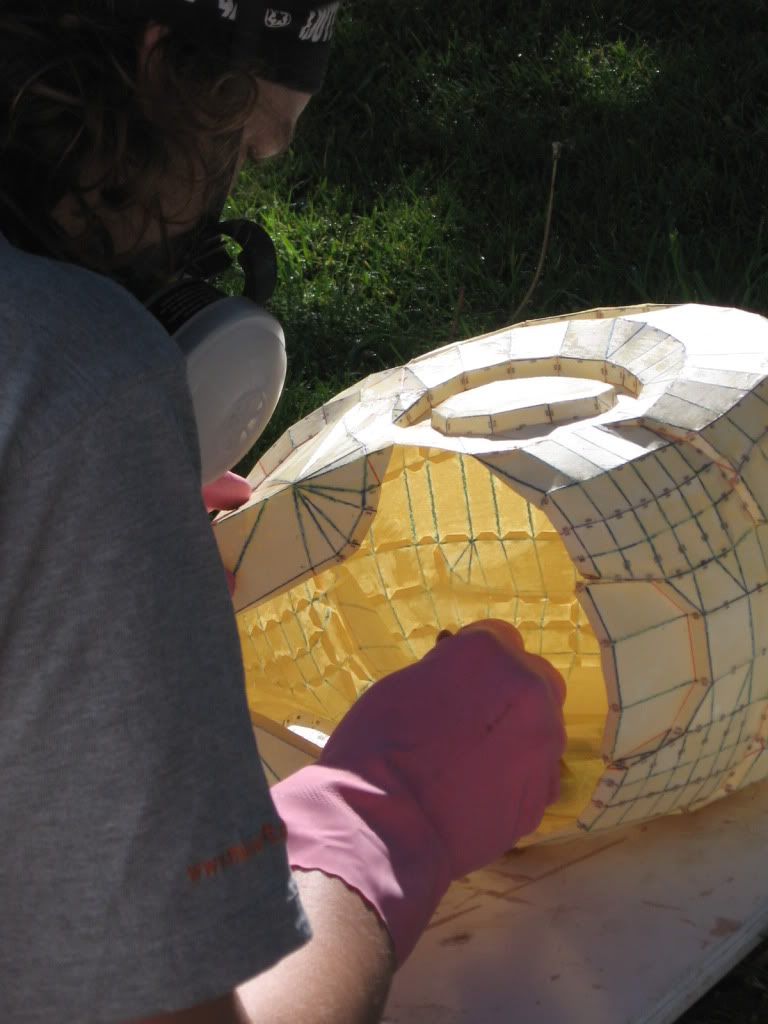
Once I had printed it out, cut out all the pieces, and glues them together the next step was to fiberglass the card model to strengthen it.
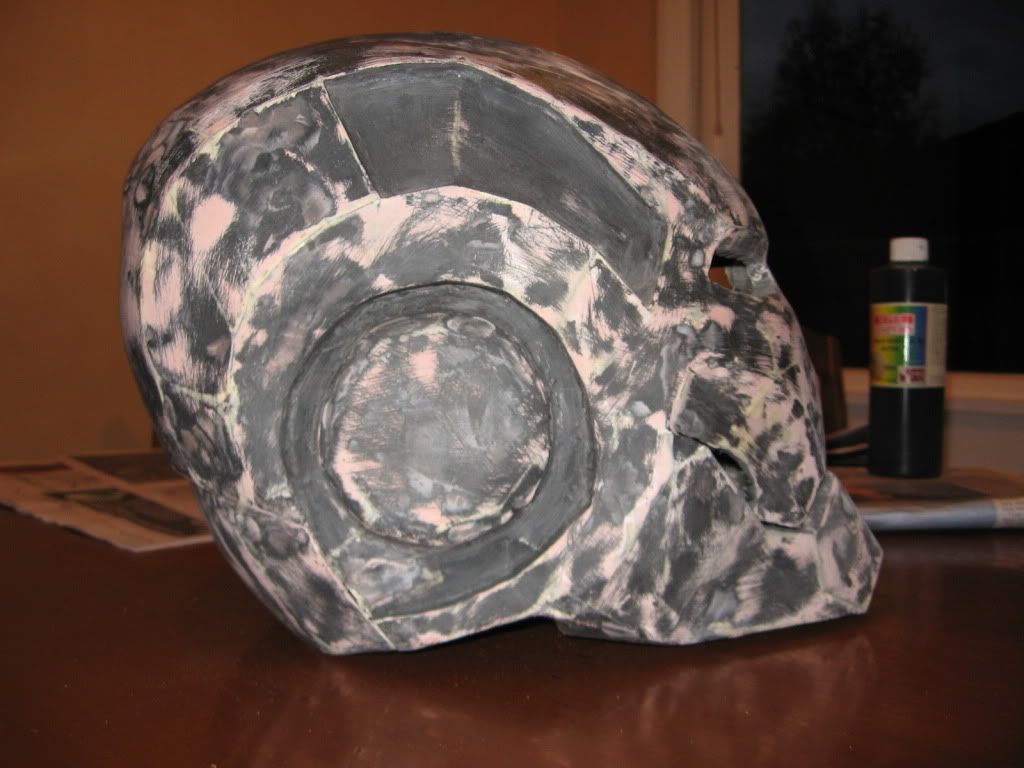
Then the next stage was to smooth it out with automotive body filler or 'bog'. This process consisted of doing the bulk of the smoothing, then giving it a coat of primer to show up the imperfections, then apply more bog and sand, the prime, bog and sand etc.
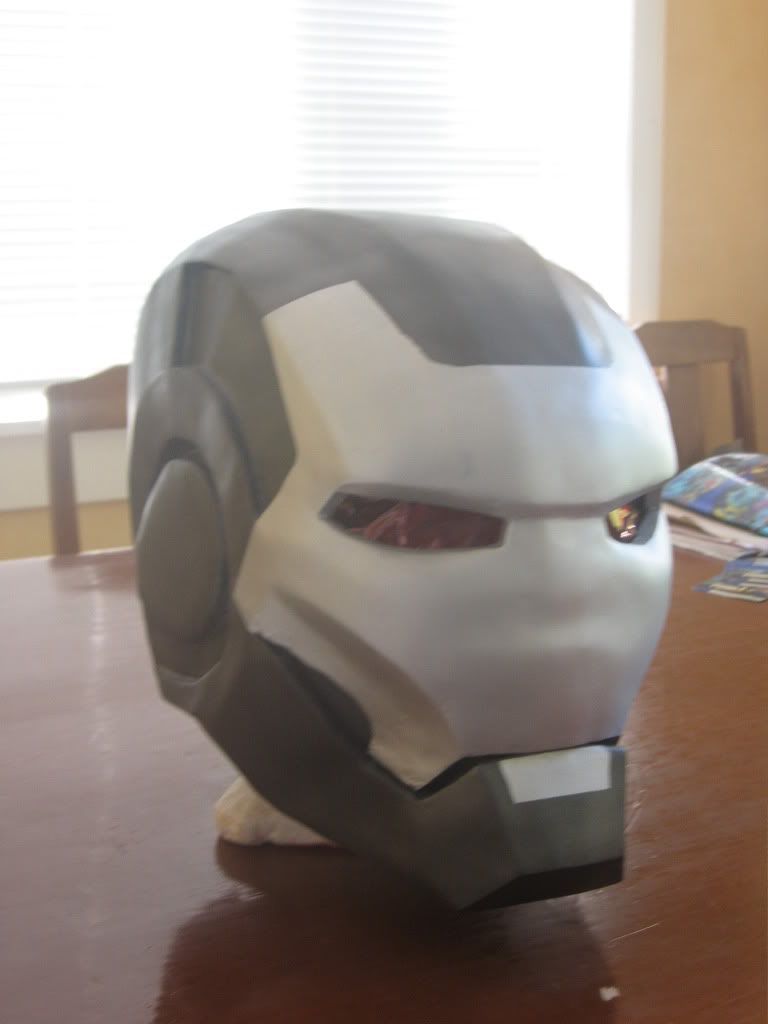
The final step was to paint it to look like War Machine. I also cut out a segment at the back of the helmet, and used neodymium magnets to hold it in place.
From start to finish this took me about a week and a half, which shows in the final result.

At some point in the future I will revisit this build, in order to add all the details that got left out and reshape the parts of the helmet that I'm not happy with.